Your entryway is the threshold between the outside world and your home—it’s where first impressions form and daily chaos either gets managed or spirals.
I’ve found that most entryways suffer from the same culprits: clutter piling up, inadequate storage, poor lighting that makes mornings harder, and those tricky floor transitions that trip you up.
Here’s the thing: fixing these problems doesn’t require a complete gut renovation.
I’ll walk you through ten practical steps that’ll improve this space into something that actually works for your life.
But first, you’ve got to diagnose what’s really broken.
Step 1: Diagnose Your Entryway Problems and Priorities
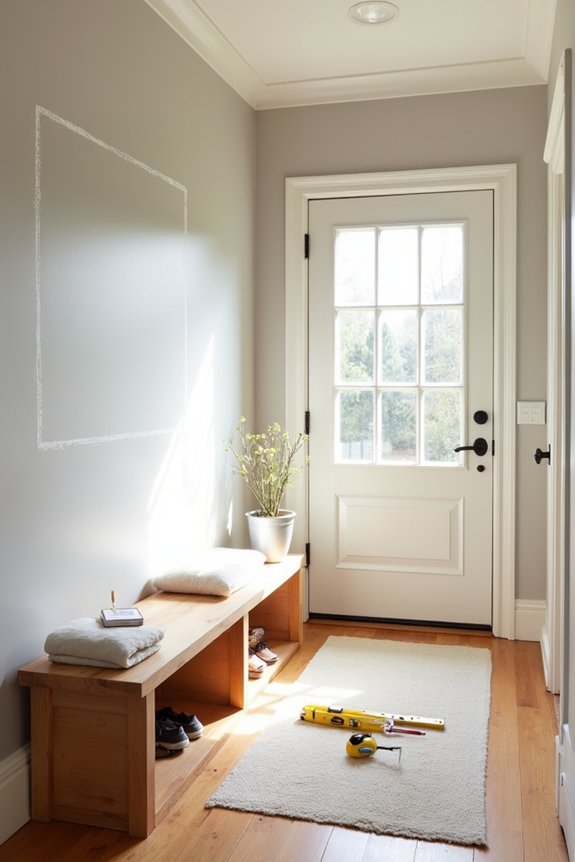
What’s actually broken about your entry right now? I started by walking through my door and noticing the chaos. Shoe shelves overflowed onto the floor. Clutter blocked movement. Poor lighting made evenings feel dim and unwelcoming.
Before tackling solutions, I listed what wasn’t working. My entryway lacked dedicated storage solutions for everyday items. The transition between tile and stairs created a tripping hazard. Paint colors felt dated and cramped.
I also thought about how I actually use this space. What do I need within arm’s reach daily? Where do visitors pause? What makes the area feel cramped versus open?
This honest assessment guided everything. Identifying specific problems—not just “it’s messy”—helped me prioritize fixes. Storage solutions came first. Then safety concerns. Finally, aesthetics that’d make this space feel inviting, not just functional.
Step 2: Set Your Budget and Material Choices
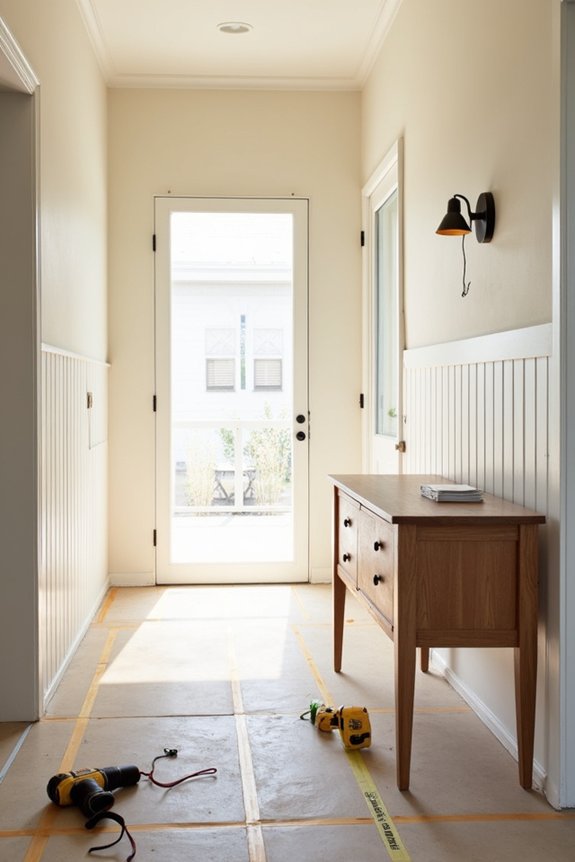
Once you’ve figured out what your entryway needs, it’s time to get real about what you can spend and what materials will actually hold up. I sourced my 12×24 entry tile from Home Depot and paired it with Delorian Grey grout for a modern look, which kept costs reasonable while delivering the aesthetic I wanted. Your material choices—like deciding between flat-edge transition strips versus bullnose trim to eliminate tripping hazards—directly impact both your budget and how safely your family moves through the space.
Establish Your Financial Parameters
How much are you willing to spend on your entryway? Budgeting smartly helps you prioritize what matters most for your space. Here’s what I considered for my project:
- Door and sidelights: Fiberglass door with transom in charcoal (Straight Goods brand) runs $800–$1,200
- Flooring: 12×24 tile from Home Depot costs $3–$8 per square foot, plus Schluter edge strips for safety
- Lighting: Larger ceiling fixture with four bulbs adds $150–$300
- Storage upgrades: Built-in drawers and floating shelves range $200–$500
I discovered that choosing quality materials upfront saves money long-term. You’re not just buying products—you’re investing in durability and functionality. Start by listing your non-negotiables, then allocate remaining funds strategically across categories that’ll improve your entryway’s daily use.
Select Quality Materials Wisely
Now that you’ve figured out what you can actually spend, it’s time to make those dollars count by picking materials that’ll hold up over years of daily use. I chose refinished oak treads stained to match my hardwood floors and white-painted plywood for the risers. For the entry tile, I went with 12×24 pieces from Home Depot paired with Delorian Grey grout for that modern vibe. I also installed a flat-edge transition strip instead of bullnose options—it reduces tripping hazards. Quality doesn’t always mean expensive. I sourced my mirror from Ikea, a rug from Homesense, and selected durable lighting with four bulbs. Smart material choices mean your entryway actually survives the chaos of real life.
Step 3: Map Traffic Flow and Level Changes
Before you pick out finishes or furniture, you’ll want to understand how people actually move through your new entryway—because a functional entry requires clear pathways without bottlenecks or tripping hazards.
A functional entry demands clear pathways—map traffic flow before selecting finishes to eliminate bottlenecks and tripping hazards.
I map traffic flow by sketching where doors, stairs, and transitions meet. This reveals problem spots before they become real issues. Here’s what I focus on:
- Identify chokepoints where foot traffic naturally clusters or slows down
- Prioritize flat transitions using Schluter systems instead of bullnose edges that catch toes
- Align stair dimensions with entry layout for consistent, predictable movement
- Plan level changes carefully to eliminate lips and support wheelchair accessibility
When I address level changes, I keep junctions flush and low-profile. Matching finishes—like oak treads with white rises—creates visual continuity that guides people naturally through the space.
Step 4: Choose Durable Entryway Flooring and Transitions
Your entryway flooring needs to handle foot traffic, moisture, and dirt—which means picking materials that won’t wear down or become safety hazards in a year or two. I chose 12×24 tile from Home Depot with Delorian Grey grout for a modern, durable look that cleans easily.
Here’s what matters: transitions between your tile and stairs. I went with flat-edge transition strips rather than bullnose edges to eliminate those annoying lips that trip people up. Nobody wants a hazard at their front door.
Work with your tile company’s recommended flooring supply store for transitions. They’ll make sure everything matches and sits flush. Getting this right means your new entry stays safe and seamless for years—no regrets later.
Step 5: Handle Floor-to-Stair Transitions (Tile, Wood, and Bullnose)
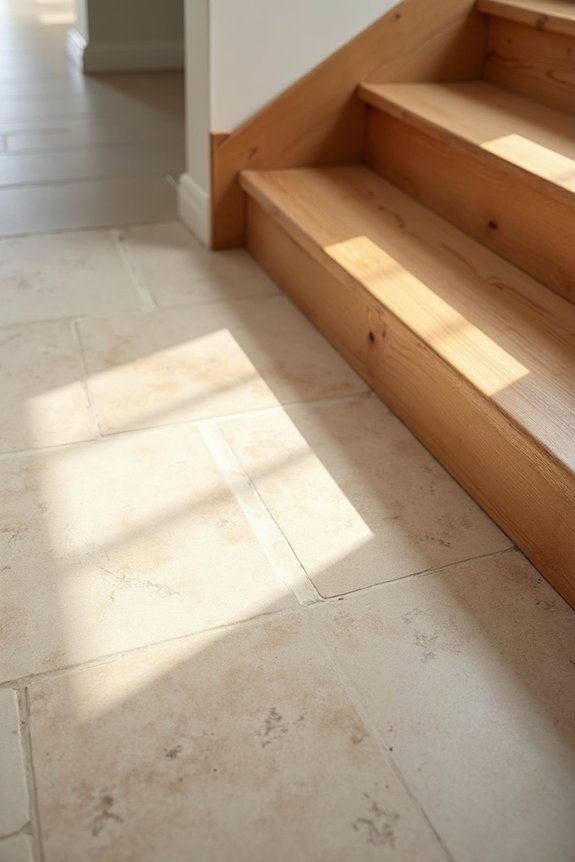
When you’re connecting your new tile entryway to existing stairs, you’ve got to nail the transition—literally and figuratively—because even a tiny lip can trip you up (or your guests). I’d recommend skipping bullnose profiles and going with flat-edge strips from your tile supplier or a system like Schluter, which keeps everything flush and safe without that awkward step-up feeling. The key’s matching your materials: if you’ve got oak treads meeting tile, you want that transition strip to bridge the height gap smoothly so your eye doesn’t catch on anything.
Choosing Transition Strip Materials
How do you bridge the gap between your new entry tile and the stairs without creating a tripping hazard?
I chose flat-edge Schluter transition strips over sloped options because they eliminate that dangerous lip. Here’s what I learned about selecting the right material:
- Flat-edge design prevents tripping while maintaining a flush transition between surfaces
- Schluter-brand strips from flooring supply stores offer durability and professional-grade quality
- Height matching minimizes the difference between your 12×24 tile and stair height
- Edge profiles like bullnose complement your Delorian Grey grout for visual consistency
The key is establishing a level subfloor first. I tested my transition strip against the stairs before installation, confirming everything sat flush. This upfront attention prevents expensive callbacks and keeps your entryway both functional and safe for everyone walking through.
Preventing Tripping Hazards
Once I’d settled on the flat-edge Schluter strips, I realized the real work was making sure that seam between tile and stairs didn’t become a hazard. A trip-free entryway requires flush transitions—no lips, no surprises. My 12×24 Delorian Grey tiles needed to sit perfectly level with the stair rise, creating a seamless pathway you can navigate without thinking twice.
| Hazard Type | Solution | Why It Works |
|---|---|---|
| Height difference | Flat-edge profile | Eliminates tripping risk |
| Slippery seams | Slip-resistant strips | Improves grip and safety |
| Misaligned transitions | Proper measurement | Creates flush installation |
| Shifting grout | Quality adhesive | Maintains long-term stability |
| Uneven surfaces | Professional installation | Guarantees level alignment |
I tested the transitions myself—walking barefoot, wearing shoes, moving quickly. That flush, unobtrusive profile meant nobody stumbles entering our home.
Schluter System Installation
Where tile meets wood, you need precision—not guesswork. I installed a Schluter system to create flat-edge transitions between my 12×24 entry tile and oak stairs. This approach eliminated tripping hazards that plague most renovations.
Here’s what made the difference:
- Flat-edge profile keeps transitions flush without lips or gaps
- Schluter strips guide water away while maintaining clean lines
- Precise height alignment ensures entry tile matches stair rise perfectly
- Modern aesthetic creates a connected look between materials
I sourced transition materials through my tile company’s flooring supply connection. They showed me late-night photos of the actual strip profile—important for understanding how it’d look installed. The Schluter system handled the height difference between my plywood risers and entry perfectly, delivering that coordinated, contemporary look I wanted without safety compromises.
Step 6: Plan and Install Entryway Lighting
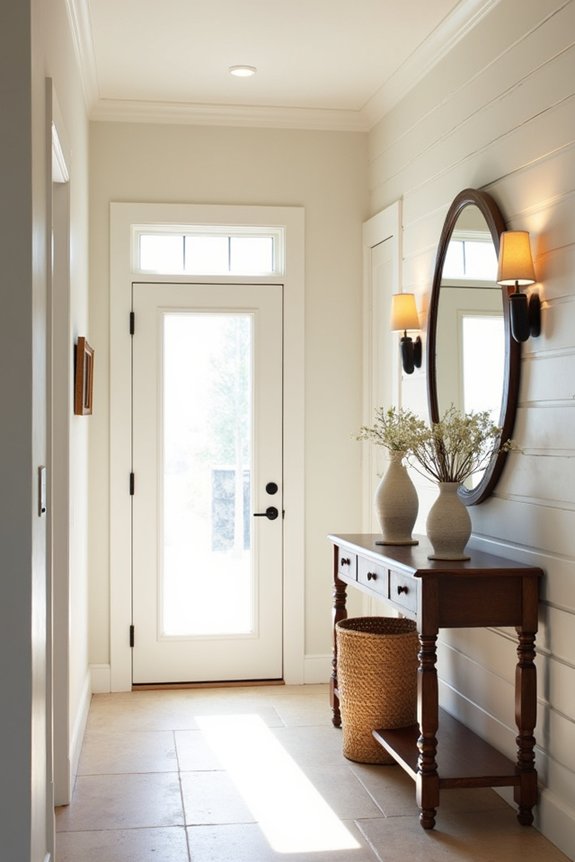
Since my entryway had that high ceiling and barely enough light from a single bulb, I knew I’d need to upgrade the whole setup. I went from one bulb to four for proper entryway illumination that’d actually let me see what I was doing. I chose a Mitzi light fixture—sleek and modern—that’d coordinate with my floating shelf and mirror.
Here’s where it gets tricky: height matters. I had to hang it high enough to clear the closet door when it swings open. I used an adjustable ladder for safe installation, carefully measuring the spacing so everything aligned perfectly.
The upgraded lighting changed the space functionally. Now my entryway feels welcoming and bright instead of dim and uninviting. Proper lighting makes a real difference.
Step 7: Design and Build Custom Storage (Drawers and Shelves)
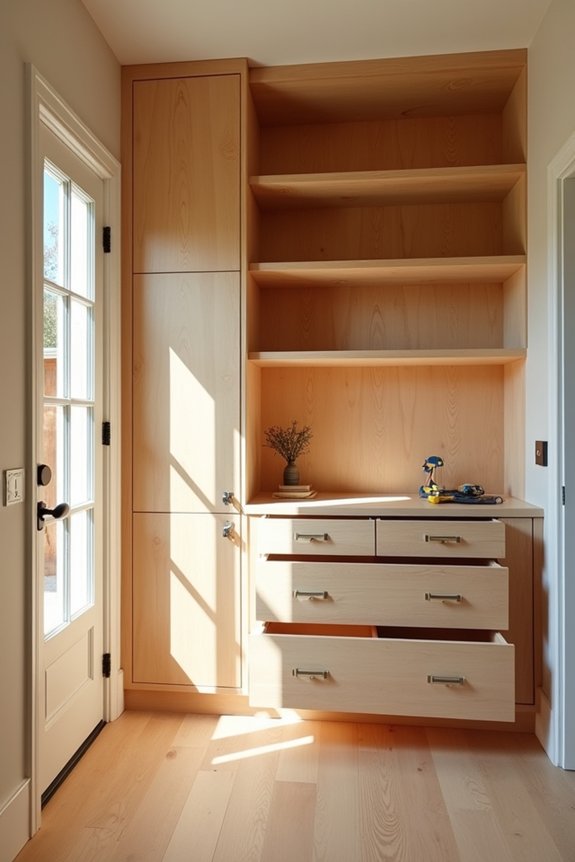
Now that your lighting’s set, it’s time to tackle storage—and built-in shoe storage drawers beat open shelves for keeping clutter hidden and your entryway looking neat. You’ll want to cut holes in your drywall strategically, then install a drawer system that fits snugly into that space, following DIY tutorials that walk you through the installation process step by step. Pair those drawers with floating shelves above for displaying essentials and you’ve got a functional entry that maximizes every inch without needing bulky furniture taking up floor space.
Built-In Shoe Storage Drawers
One of the best ways to tackle entry clutter is swapping out those freestanding shoe shelves for built-in drawer storage—and that’s exactly what I did with my entryway. I cut holes directly into the drywall and installed drawer systems that keep shoes completely out of sight. This approach works because hidden storage makes your space feel cleaner right away.
Here’s what makes this storage solution effective:
- Contained design – Drawers hide shoes entirely, eliminating visual clutter
- Space efficiency – Built-ins integrate with your stairs and existing layout
- DIY-friendly – Store-bought components make installation manageable for most homeowners
- Modern aesthetic – Low-profile drawers maintain that rustic-industrial vibe
The result? An entryway that looks organized and functional. Your guests won’t see piles of footwear—just a polished space that works for real life.
Floating Shelves For Essentials
Where do your keys actually go when you walk through the door? Floating shelves help organize your entryway and keep it functional. I installed a thin modern wood shelf directly under my mirror—it’s become the landing spot for keys, mail, and sunglasses. The shelf keeps essentials within arm’s reach without cluttering your floor space.
Here’s what I learned: floating shelves work best when they’re 12 to 15 inches deep and mounted at eye level. I paired mine with minimalist hardware that matches my wood tones. This approach complements the built-in shoe storage drawers below, creating an organized entryway.
The benefit of floating shelves is their simplicity. You’re not fighting visual clutter; you’re creating designated spaces for things you actually use daily.
Custom Shelving Installation Techniques
Building custom drawers and shelves into your entryway is where functional storage happens—it’s the difference between a cluttered landing zone and an organized space that works.
I combined store-bought components with custom fabrication to create built-in storage that fits my exact needs. Here’s what worked:
- Measure twice, install once – I sketched everything before touching tools
- Mix and match materials – Paired ready-made drawer units with custom wood shelving
- Plan wall placement carefully – Wall-mounted drawers freed up floor space significantly
- Document your progress – Photos helped me troubleshoot and inspired others
The key is tackling this gradually. I converted existing shoe shelves into deep drawers first, then added the floating shelf underneath. This phased approach kept my entryway functional while I worked. Your custom storage doesn’t need perfection—it needs to work for your life.
Step 8: Select Your Entry Door and Frame
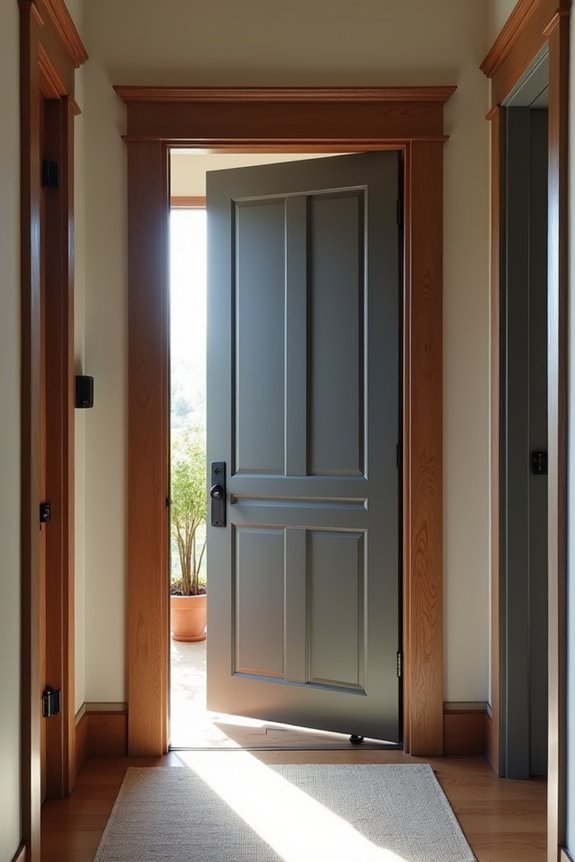
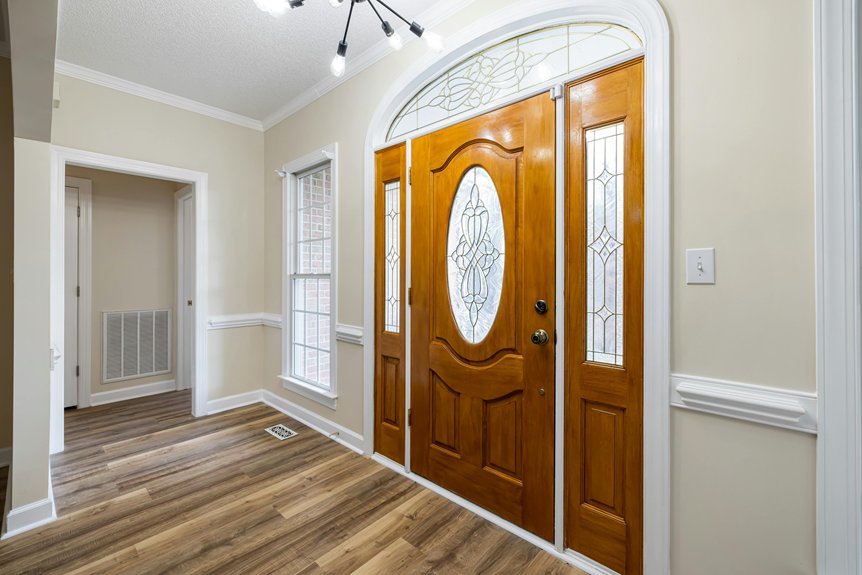
How’s your entryway looking so far? Now comes one of the most impactful decisions: your entry door and frame. I chose an oversized fiberglass door with rain glass sidelights and a transom window. This combination floods your entryway with natural light while boosting security—something I really valued.
I picked a dark charcoal color called Straight Goods for a modern farmhouse vibe. Paired with crisp trim, it creates immediate visual interest that welcomes visitors from the moment they arrive.
Consider the frame details carefully. Fiberglass doors resist warping and weathering better than wood, making them practical long-term investments. Your door sets the tone for everything else in your entryway, so choose something that works with your home’s aesthetic and your daily needs.
Step 9: Choose Paint, Hardware, and Trim That Unify the Space
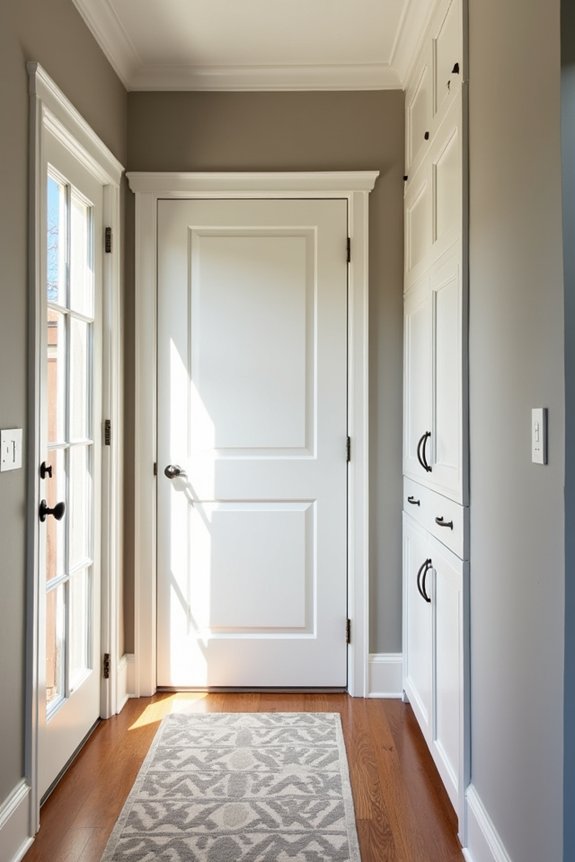
Your entry door’s already making a statement, so now’s the time to tie everything together with paint, hardware, and trim that work as a unified system rather than scattered choices.
I paired my dark charcoal Straight Goods door with modern farmhouse trim to create a coordinated, contemporary look that flows naturally throughout the space. Here’s what connected my entry:
- Paint colors that complement your door choice and existing home style
- Modern farmhouse trim work that frames doorways and transitions cleanly
- Hardware finishes matching your door’s aesthetic for visual consistency
- Coordinated paint for refinished wood floors and stair rises to maintain height transitions
This approach brings your entry’s separate elements into alignment. When each piece speaks the same design language, you’ll notice the difference of stepping into a space where the details actually work together.
Step 10: Add Your Focal Point (Mirror, Art, or Plant Wall) and Accessories
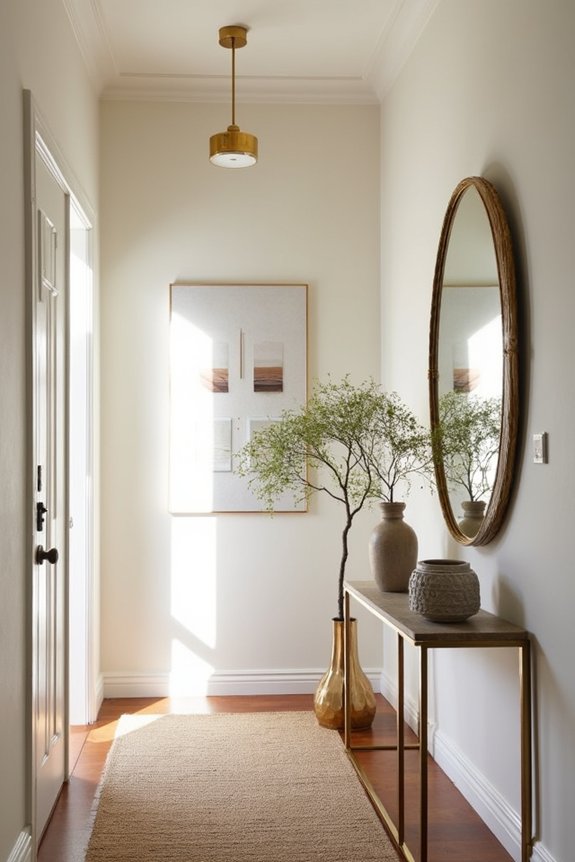
What makes a bare entryway feel lived-in? A focal point does. I chose a round mirror from Ikea—affordable and practical—and mounted it above a floating shelf. That shelf became my dedicated spot for keys and small items, keeping clutter hidden. Below, I installed a low-profile drawer for shoes instead of letting them pile up visibly.
Accessories matter too. I added a wood-toned vase with eucalyptus, which brightened the whole entry without demanding much attention. A tasseled rug added texture to the space. For lighting, I upgraded to a larger ceiling fixture with four bulbs, finally brightening that awkward corner. These touches—practical yet personal—made my entry somewhere I actually want to spend time.