
I’ll measure twice, mark with a pencil, then use painter’s tape to test placement before drilling.
You’ll want to keep handles 2–3 inches from edges on base doors and upper cabinets, centering pulls on drawer faces.
Templates prevent crooked alignment across all cabinets.
For drawers, space two pulls 3–4 inches from each side.
After installation, load drawers and cycle doors repeatedly to catch loosening early.
Back plates cover old holes perfectly when swapping hardware.
Get these fundamentals right, and your kitchen will look more polished and professional—though there’s more technique that really locks everything in place.
Measure Twice, Mark Once: Getting Hardware Placement Right
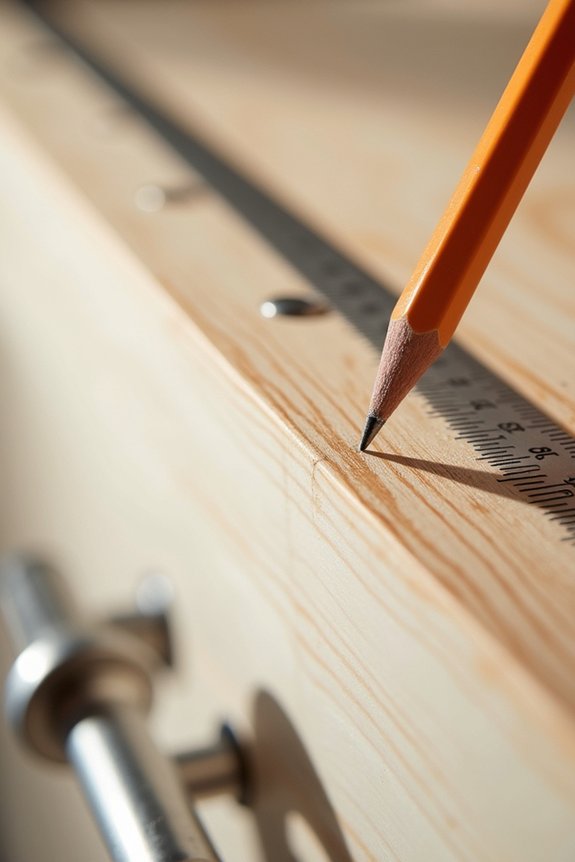
Three things’ll make or break your cabinet hardware installation: measuring carefully, marking precisely, and resisting the urge to just eyeball it.
Three things’ll make or break your cabinet hardware installation: measuring carefully, marking precisely, and resisting the urge to just eyeball it.
I always start by measuring the distance from the top or bottom of each door to where I want my knob centered. I use a template or jig—this keeps my alignment consistent across every cabinet. It’s honestly effective for avoiding that “oops, that’s crooked” feeling.
Here’s my process: I measure twice, mark my placement with a pencil, then test it temporarily with painter’s tape or putty. This lets me see if the location actually works before I drill. Once I’m confident, I mark my final spots and drill.
Getting this right means your whole kitchen looks deliberate and polished, not like you just guessed.
Position Door Hardware: Distance From Edges and Rails
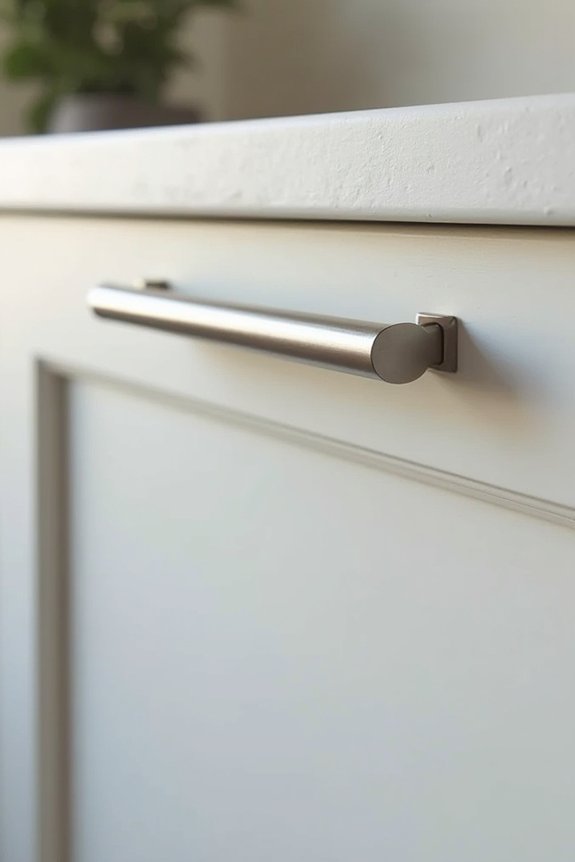
Now that you’ve marked your spots, it’s time to get specific about where those marks actually go on your door. Position your knob placement 1 to 4 inches from the top or bottom edge, depending on your cabinet height and reach. Here’s what works:
| Door Type | Edge Distance | Alignment Method |
|---|---|---|
| Upper Cabinet | 1-2 inches from top | Center on stile |
| Lower Cabinet | 2-4 inches from bottom | Align with rail |
| Pull Hardware | At top rail | Bottom of pull flush |
Edge alignment matters. Align hardware vertically with the door stile for a uniform look. For consistent spacing across all doors, use a cabinet hardware jig or template. This prevents mistakes and keeps every handle positioned correctly. Your cabinet rails serve as your visual guide—align pull bottoms with the top rail for visual consistency across your cabinetry.
Center Drawer Pulls for Better Reach and Balance
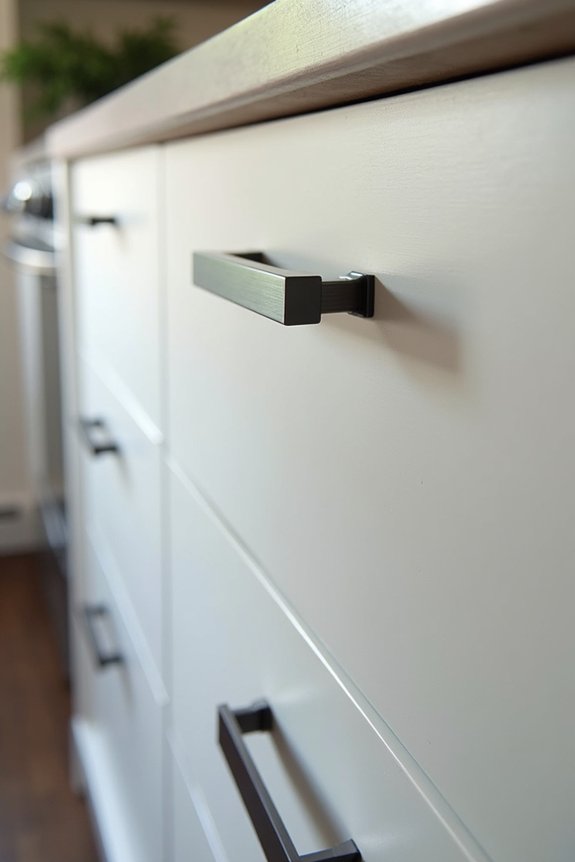
Where should you actually put a drawer pull so it feels right when you reach for it? Centered pulls work best for most drawers. For a single pull, position it horizontally and vertically centered, about 2″ to 4″ from the top edge depending on your drawer height.
Wider drawers benefit from a two-pull configuration. Space them equidistant from center—roughly 3″ to 4″ from each side—to maintain visual balance across your drawer width. This positioning reduces stress on fasteners and improves grip, especially on heavy drawers.
Use the “rule of thirds”: align your pulls’ combined centers with one-third and two-thirds points across the drawer width. This creates natural spacing that works well. Match your installation height across all drawers for consistency that makes your kitchen look coordinated and organized.
Knobs vs. Pulls: Which Fits Your Kitchen Style
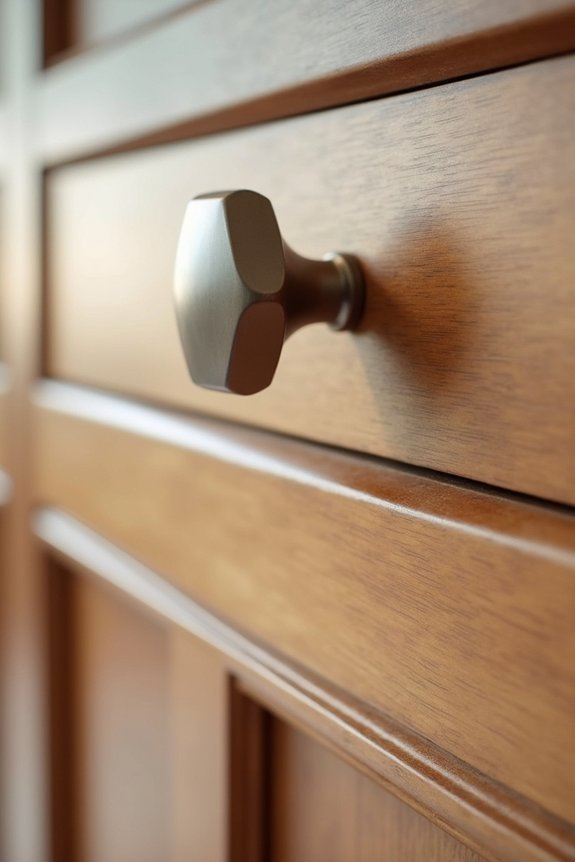
Have you noticed that some kitchens feel more traditional while others look distinctly modern? Your choice between knobs and pulls shapes that entire vibe. I’ve found that knobs—those small, single-point handles—bring classic charm to cabinet doors and cost less to install. Pulls, however, are longer handles anchoring at multiple points, offering better grip for heavy drawers and conveying sleekness.
Here’s what I’d suggest: pair knobs on your cabinet doors with pulls on drawers for a transitional look that blends both styles well. This mixed approach works because lighter doors suit knobs while heavy-use drawers containing pots and pans benefit from pulls’ superior leverage. If you’re after pure modern minimalism, go with sleek pulls throughout your kitchen. Consider your actual usage patterns when deciding—function should guide your aesthetic choices here.
Use Templates or Jigs for Consistent Placement
Once you’ve picked your knobs or pulls, getting them positioned correctly across all your cabinets is what separates a polished kitchen from one that looks sloppy. That’s where templates and jigs come in—they’re your concealed asset for consistent placement.
I use a reusable cabinet hardware jig to mark hole locations quickly. It centers pulls on door stiles and maintains uniform distance from edges every single time. Two-piece drawer templates prevent tear-out when drilling through front panels, keeping your holes clean and professional-looking.
Here’s what matters: a drill guide acts as a hard stop, eliminating skidding and guesswork. You mark only the holes you need through masking tape, then drill with confidence. Your cabinet hardware won’t look crooked or misaligned anymore.
Don’t Make These Placement Errors
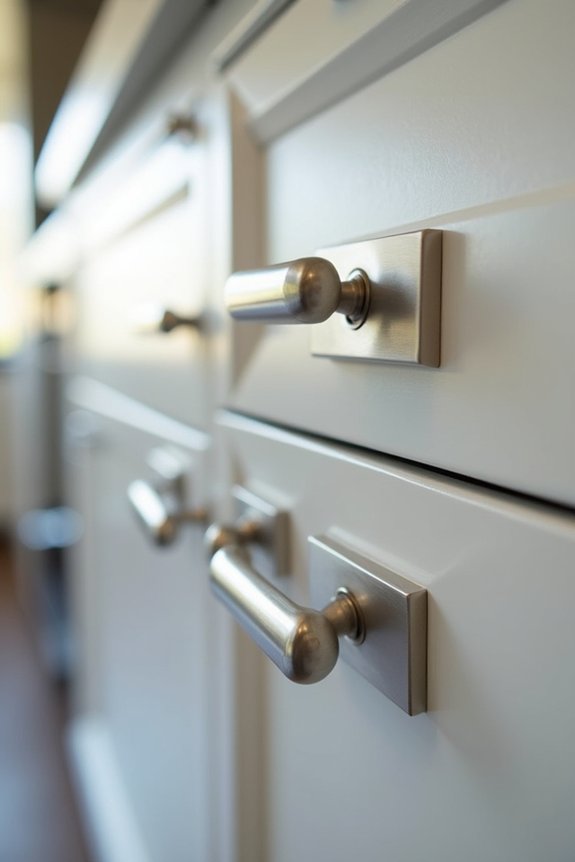
Why do so many kitchen cabinet projects end up looking rushed? Usually, it’s placement errors that sabotage the final result. I’ve learned that edge distance matters tremendously—positioning hardware too close to cabinet edges causes discomfort and premature wear. You’ll want at least half an inch clearance.
Alignment is equally important. Misaligned handles across cabinets create that amateurish, uneven appearance we’re all trying to avoid. Scale matters too. Tiny pulls on large drawers look out of proportion and feel awkward to use, while oversized hardware dominates smaller cabinets.
The key difference? Matching your hardware placement with cabinet lines and style. This balance takes your kitchen from “we tried” to “we nailed it.” Skip these mistakes, and you’re honestly halfway there.
Stop Hardware From Loosening: Sealant and Superglue
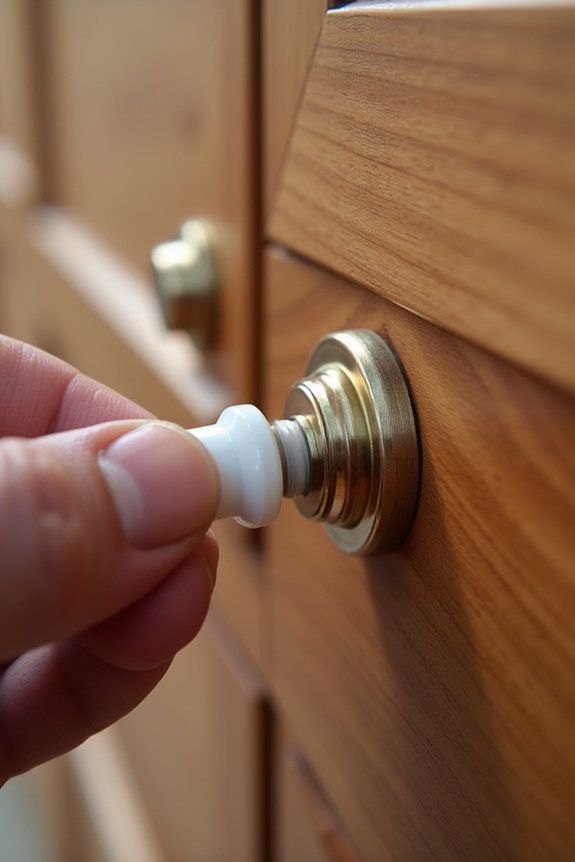
Nothing’s more frustrating than handles that spin loose after a few months of use. I’ve learned that thread sealant is your best friend for durable cabinet hardware installation. Apply a small dab to each screw before tightening—it prevents loosening without making removal impossible later.
For oblong or rectangular knobs with single screws, I combine thread sealant with superglue on the back. This combo keeps twisting to a minimum and maintains long-term stability. Press firmly into place, then let everything cure before opening and closing cabinet doors.
Here’s my practical approach: use moderate torque during tightening, don’t overtighten. During routine maintenance, I monitor high-traffic areas and reapply sealant as needed. It’s simple maintenance that saves frustration down the road.
Cover Old Holes With Back Plates and Putty
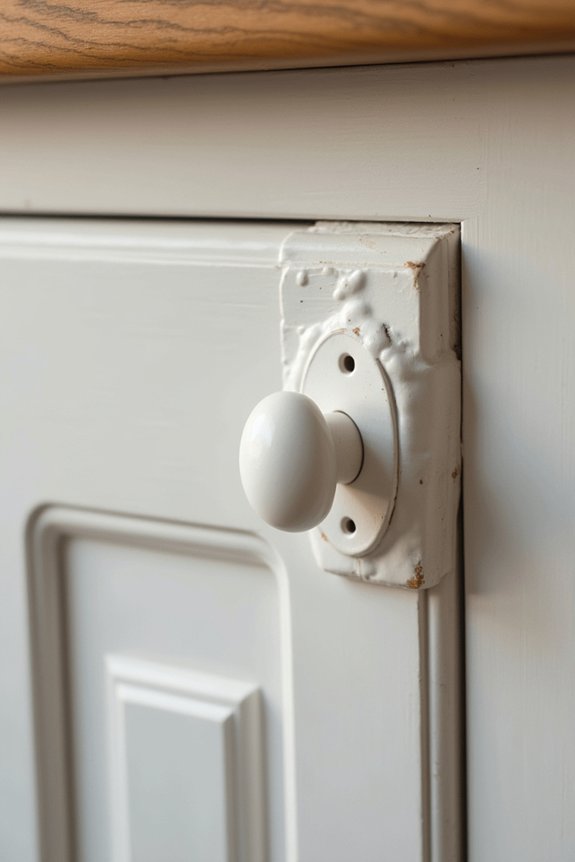
When you’re swapping out cabinet hardware, you’ll almost always find yourself staring at old screw holes that don’t line up with your new knobs or pulls. Back plates are your best friend here. They’re decorative rings that cover multiple holes at once, giving your cabinets a polished, intentional look. Hunt online or check your local hardware store for back plates matching your new hardware’s style and spacing.
Sometimes back plates won’t cover everything. That’s where putty comes in. Mix colors to match your wood grain, then fill remaining holes. Sand smooth once dry, prime, and paint. For a complete finish, apply putty around new hardware edges too. This patching technique makes your hardware installation look professional and put-together.
Troubleshoot Misaligned Doors (Before Placing Hardware)
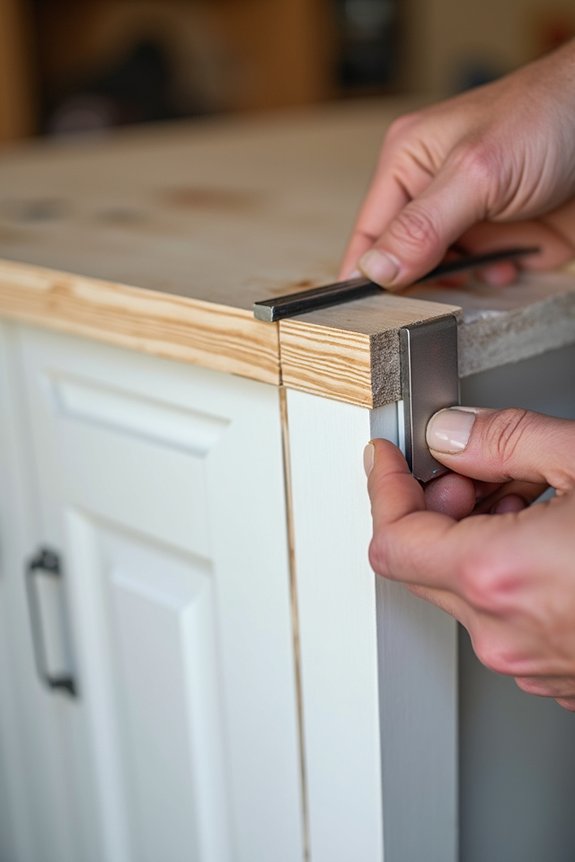
Before you drill a single hole for new hardware, you’ve got to make sure your cabinet doors are actually sitting straight. I’ve learned this the hard way—misaligned doors make everything look sloppy, no matter how fancy your handles are.
Here’s what I do first:
- Test door swing clearance by opening each door fully to confirm it won’t rub walls or adjacent cabinets once hardware is mounted.
- Document gap consistency by measuring the space at the top, middle, and bottom of each door before touching anything.
- Use hinge alignment and adjustable mounting plates to fine-tune door position, starting with depth screws to move doors in and out.
If door misalignment persists, I temporarily remove hinges, re-seat them, then recheck straightness. Small adjustments repeated carefully beat rushing through.
Fine-Tune Hardware Alignment: Final Checks
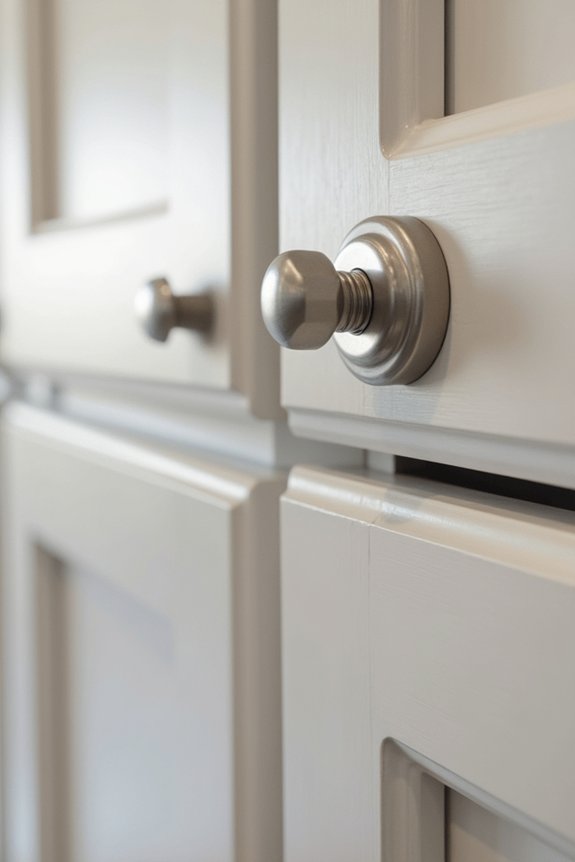
Before you call the job done, verify that all your knobs and pulls sit at the same height—use that door rail as your reference point so everything lines up visually. Next, check the spacing between hardware on adjacent doors and drawers; inconsistency will stand out and affect your kitchen’s appearance. Finally, open and close each door and drawer fully to make sure nothing catches or feels cramped, then adjust your mounting plates if there’s any rubbing or awkward reaching involved.
Verify Vertical Alignment First
How’s your eye for straight lines? Before you drill a single hole, I’m checking vertical alignment across all my cabinet handles. Here’s what I’m doing:
- Using the door rail as my reference point, I measure from the top and bottom edges to confirm each knob sits at matching heights
- Testing a level or laser line against the cabinet fronts to verify all hardware mounting points form one perfectly straight vertical line
- Opening each door after alignment to check reachability and confirm the handles sit comfortably for grasping
I’m rechecking multiple cabinets afterward because minor hinge variations throw everything off. Getting this alignment check right means my hardware looks intentional, not accidental. This vertical alignment step saves me from frustrating adjustments later.
Check Hardware Spacing Consistency
Once you’ve got those vertical lines dialed in, it’s time to make sure your spacing stays consistent across every single cabinet door and drawer. I measure 2–3 inches from the edge on base doors and 2–3 inches from the bottom on upper cabinets, keeping that uniformity tight throughout. Your measurement should stay the same from cabinet to cabinet—no surprises halfway through. Before you drill anything, I run a dry-fit using painter’s tape to preview the alignment and catch mistakes early. This simple step prevents misalignment across multiple pieces. I also verify that each pull’s bottom sits on the same horizontal plane and confirm the spacing won’t interfere with door swings or adjacent drawers. Getting this right means your whole kitchen looks deliberate and polished.
Test Door And Drawer Function
Now comes the moment of truth—I open each door and drawer to see if my hardware installation actually works. This is where all my careful measuring pays off or doesn’t. I’m checking three critical things:
- Smooth operation: I open and close each door and drawer multiple times, feeling for rubbing or binding against frames
- Proper alignment: I verify that knobs and pulls sit centered on door stiles and that drawer handles line up horizontally across adjacent drawers
- Door swing clearance: I confirm handles don’t interfere with my door swing or hit the wall, and drawer handles don’t strike the countertop
After any hinge adjustments, I test operation again throughout the full range of motion. Finally, I load drawers lightly and heavily, cycling them repeatedly to verify nothing loosens or shifts during actual use.