Stop treating can lights like ceiling decorations—they’re task lighting tools that need strategy. Start by mapping your task zones: sink, stove, and prep areas. Space cans roughly four feet apart on an eight-foot ceiling, positioning them twelve to eighteen inches from cabinet edges to kill shadows. Aim beams toward countertops, not overhead. Pair overhead cans with under-cabinet strips for consistent illumination. Wire rough-in for future pendants over your island. Use dimmable LEDs on separate circuits for independent control. Get the specifics down, and you’ll improve your kitchen lighting significantly.
Start With a Ceiling Map and Task Zones
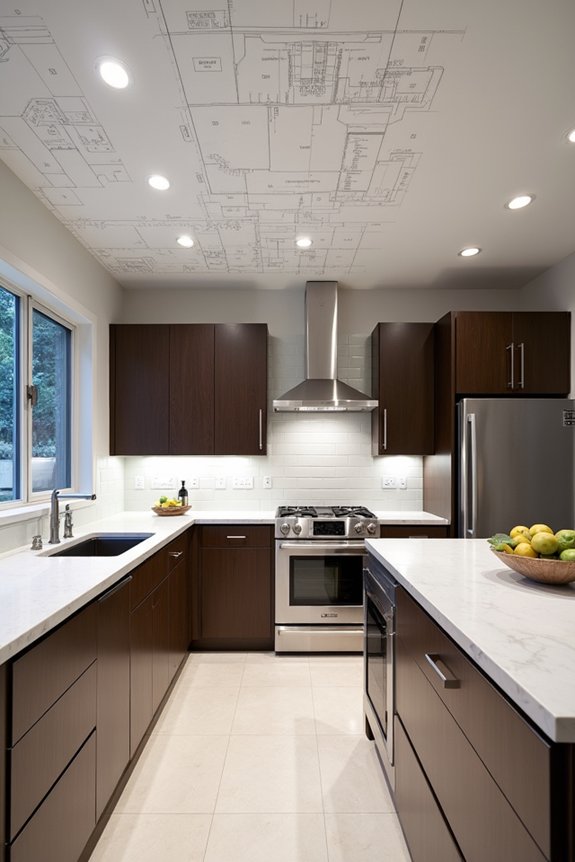
How’d you like to nail your can light placement on the first try instead of realizing halfway through installation that you’ve got a dark spot over your prep counter?
Start by creating a ceiling map marking your task zones—countertops, sink, stove, island, and seating areas. This simple sketch becomes your recessed lighting blueprint. You’re identifying where you actually work and eat, not just lighting empty floor space.
Next, position lights to illuminate these task zones directly. Angle them toward countertop edges to eliminate shadows on work surfaces. For islands, place lights at corners angling toward the center for even coverage.
Finally, plan separate dimmer controls for different zones. This lets you adjust brightness as your needs change throughout the day. Your ceiling map moves from sketch to functional kitchen lighting strategy.
Space Cans at Half Your Ceiling Height
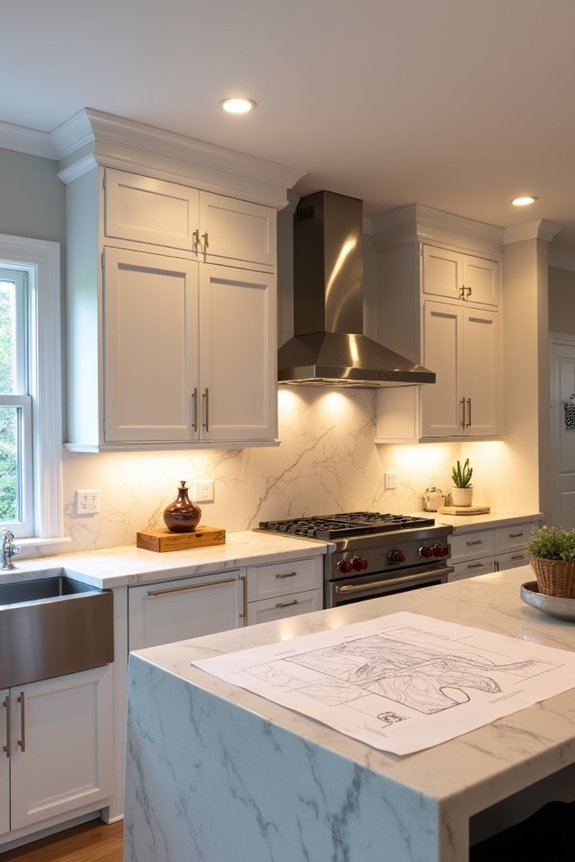
Once you’ve mapped your task zones, it’s time to tackle the actual spacing—and here’s where most people go wrong. I’ve found the golden rule incredibly simple: space your cans at roughly half your ceiling height. For an 8-foot ceiling, that means placing them about 4 feet apart. This spacing creates even coverage without dark spots or overlapping light pools.
Here’s why it works. Cans spread light in a cone shape downward. Spacing them at half-height means each cone overlaps just enough for consistent illumination across your counters and workspace. I’d also recommend using dimmable lights with this layout. You’ll adjust brightness precisely, reducing glare while maintaining that professional, well-lit kitchen feel you’re after.
Aim Lights Over Countertops, Not Above Your Head
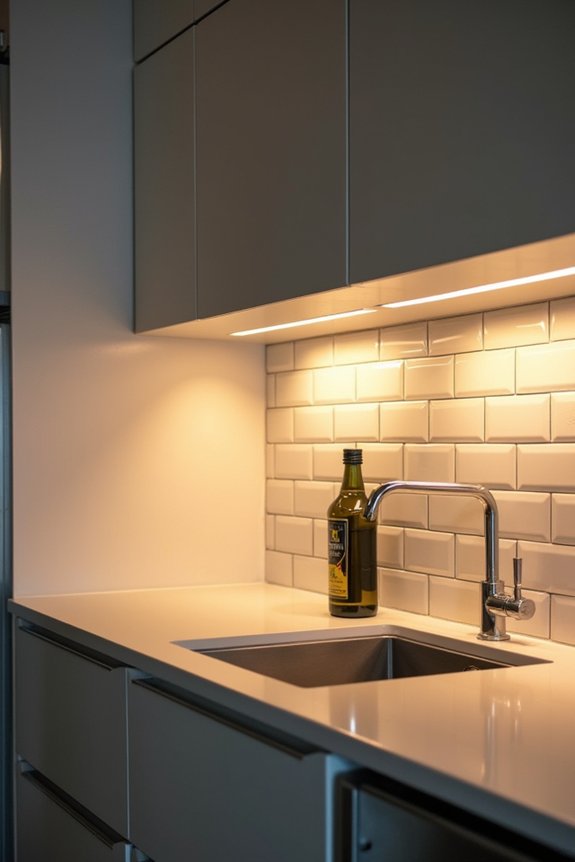
Why do so many kitchens end up with shadowy prep zones despite having plenty of recessed lights? The answer’s simple: placement matters more than quantity. I’ve learned that aiming recessed lights directly overhead creates shadows right where you need them most—on your cutting board.
Here’s what I do instead:
- Position fixtures to shine toward countertop edges, not above your head
- Angle beams away from behind you to prevent workspace shadows
- Focus task lighting on the prep zone’s center and perimeter
- Avoid directing light straight down onto work surfaces
This approach changes your countertop lighting completely. Your recessed lights become actual task lighting tools rather than ceiling decorations. When you aim them correctly, you’re lighting the work, not the worker. That’s the difference between frustrating shadows and genuinely functional kitchen lighting.
Place Cans 12–18 Inches From Cabinet Edges
Now that you’ve got your lights aimed at the right angles, there’s one more detail that’ll make or break your setup: how far those cans sit from your cabinets.
I’d recommend positioning your recessed lighting 12 to 18 inches away from cabinet edges. This spacing creates balanced countertop illumination across your work zones without casting harsh shadows on cabinet fronts. You’re creating a perimeter lighting effect that bathes your prep areas in even light.
Why does this matter? Cans placed too close to edges create glare and uneven brightness. When you combine this 12–18 inch offset with dimmable LEDs, you can adjust brightness precisely over counters while preserving your cabinet details. It’s the sweet spot between functionality and aesthetics.
Light Your Sink, Stove, and Prep Areas First
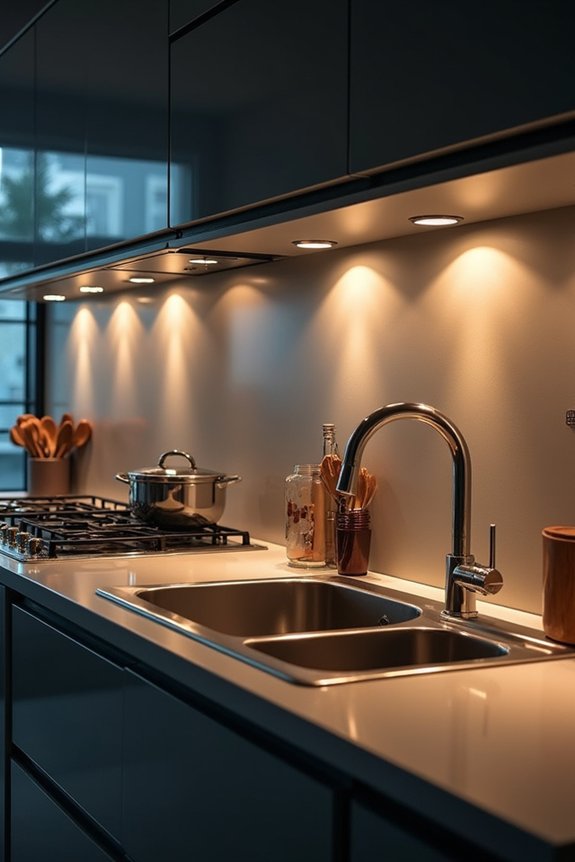
I’d start by mapping out your sink, stove, and prep areas—these are your kitchen’s hardworking zones where you’ll need the most light. You’ll want to prioritize placing recessed lights directly over these spots first, aiming for roughly one light per 4 to 6 square feet of task space, which keeps shadows off your cutting board and stovetop. Once you’ve identified these primary zones, you can fill in the rest of your kitchen’s lighting plan, knowing your most-used areas are already well-lit.
Task Lighting Priority Zones
Where you spend the most time in your kitchen—that’s where your lights should shine brightest.
Smart kitchen zoning changes how you work. Your task lighting should focus on three critical areas:
- Sink zone – Install recessed lighting directly overhead for clear visibility when washing and prepping
- Stove area – Position lights to illuminate cooking surfaces without creating shadows from your body
- Main prep counter – Layer task lighting across your primary workspace for consistent brightness
- Secondary surfaces – Add supplemental recessed lights where you occasionally chop or assemble ingredients
Dimmable controls let you adjust brightness as you move between tasks. Space recessed lights about four feet apart on an eight-foot ceiling, which creates even illumination across work zones. This kitchen zoning approach means you’re not fumbling in shadows while cooking dinner. Your eyes will respond positively to the improved visibility.
Shadow Prevention Strategies
Recessed lights don’t automatically banish shadows—you need to place them strategically to actually light your work surfaces instead of just brightening the room. I angle my dimmable cans toward the center of work zones, never directly behind my head where they’d shadow my prep area. I position recessed lighting to hit countertop edges rather than the floor gap between cabinets, which prevents dark spots on cutting boards and stovetops.
| Task Area | Light Angle | Distance | Benefit |
|---|---|---|---|
| Sink | 45° forward | 18-24″ | Shadows lift off basin |
| Stove | Center-aimed | 24-30″ | Even cooktop visibility |
| Prep zone | 30° angled | 18-24″ | Clear cutting surface |
| Perimeter | Toward edge | 12-18″ | No counter shadows |
Testing patterns before final cabinet installation lets me catch issues early. Dimmable cans adjust for different tasks, reducing harsh shadows when needed.
Pair Overhead Cans With Under-Cabinet Strips
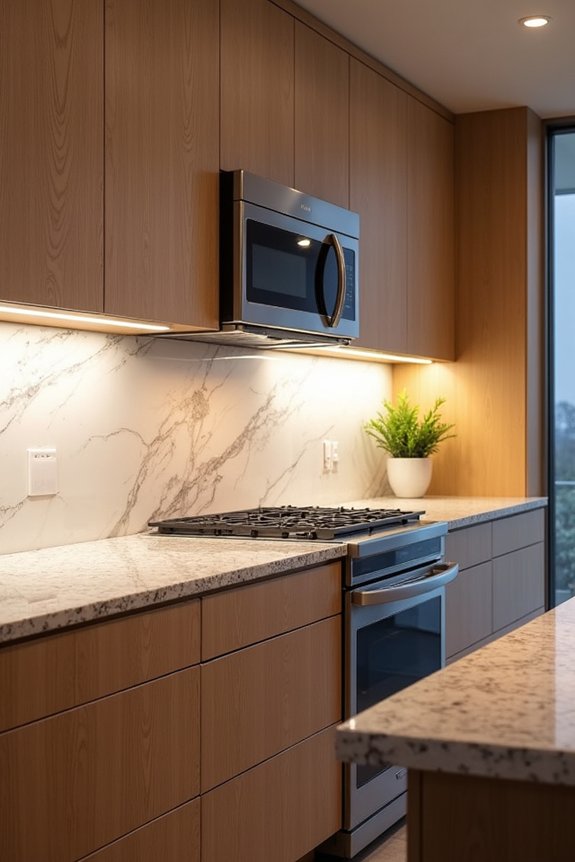
I’ll create a layered lighting system by pairing overhead cans with under-cabinet strips, which gives you both ambient light from above and focused task light exactly where you need it. Position your under-cabinet strips 2–4 inches below the cabinet fronts to eliminate glare and shadows on your countertops, then align your overhead cans directly above them so the light works together rather than fighting against itself. You’ll want to use dimmable fixtures for both layers and stick with the same color temperature (around 2700–3000K) so your kitchen maintains consistent lighting throughout.
Layered Lighting Strategy Benefits
How’s this approach working for you so far—overhead cans alone, I mean? You’re probably noticing those dark shadows pooling across your countertops. That’s where layered lighting changes everything.
When you combine recessed lighting with under-cabinet lighting, you’re creating a system that actually works for you:
- Overhead cans illuminate your entire kitchen space evenly
- Under-cabinet strips target your work surface directly, eliminating shadows
- Task lighting reaches ingredients and cutting boards clearly
- Dimmers let you adjust both layers together for any mood
The magic happens when brightness and color temperature coordinate between fixtures. Your 2700K warm LEDs feel cohesive, not disjointed. You’re not fighting poor visibility anymore. Instead, you’ve got balanced ambient and task lighting that makes cooking easier. This setup improves your kitchen from frustratingly dim to genuinely functional.
Coordinated Fixture Placement Techniques
Now here’s where practical kitchen lighting technique comes into play—pairing your overhead cans with under-cabinet strips. Combining these two layers creates a recessed lighting layout that functions effectively. Your overhead cans should align with cabinet faces to reduce shadows on prep zones, while under-cabinet strips provide direct task lighting where you need it most.
Here’s the practical part: space those overhead cans about 4 feet apart on an 8-foot ceiling, positioning them 12–18 inches from walls. This prevents annoying wall shadows. Install dimmable LEDs on separate circuits so you can adjust brightness independently. When your overhead cans and under-cabinet strips share the same color temperature, everything looks coordinated. You’ll get consistent shadow reduction across all work surfaces—that’s the optimal solution.
Wire Rough-In for Future Pendant Lights Over Your Island
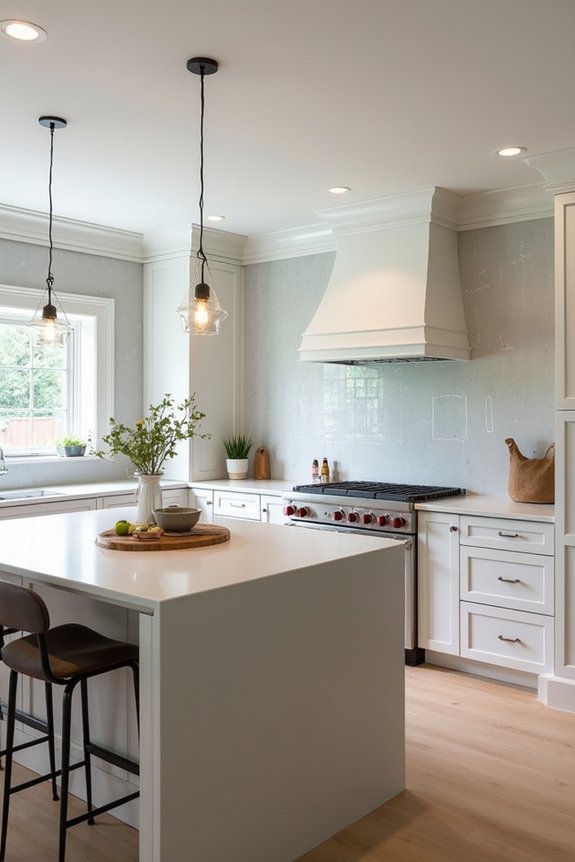
Planning ahead for pendant lights over your island takes just a bit of extra work during the rough-in phase, but it’ll save you from tearing into the ceiling later. I run a dedicated feed from my island lighting circuit to a junction box positioned centrally above the island. This setup lets me add pendants whenever I’m ready without rewiring everything.
Here’s my approach:
- Run 12/2 or 14/2 cable from the main circuit to your rough-in location
- Position the junction box aligned with where pendants will hang
- Use 1/2-inch conduit between the ceiling box and pendant spots
- Label circuits clearly in your panel and on drawings
This pendant wiring strategy keeps recessed lighting separate and organized. You’ll appreciate having that infrastructure ready when you decide to upgrade.