
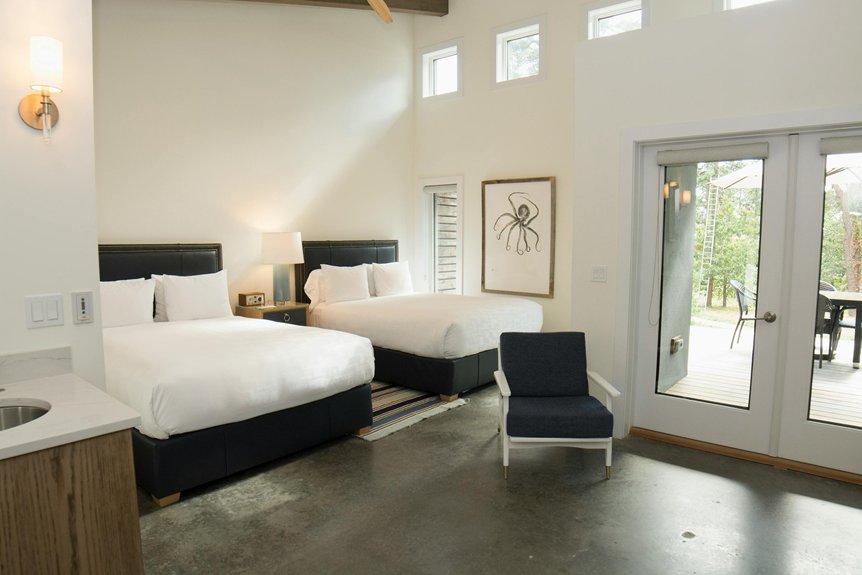
You can refresh your bedroom this weekend without hiring pros or spending a lot of money. Start with lighting—swap that builder-grade fixture for something styled. Paint bold geometric patterns on your walls or build a headboard from reclaimed wood. Hang curtains on rods mounted near the ceiling to elongate the space. Layer textiles: crisp sheets, a linen duvet, and chunky knit throws. Create a gallery wall with thrifted frames holding travel photos. Paint old furniture fresh colors, repurpose items for storage, and set up a slim vanity with wall-mounted mirror and LED strips. Each project takes just hours, but there’s much more you can tackle.
DIY Headboard: Paint or Build
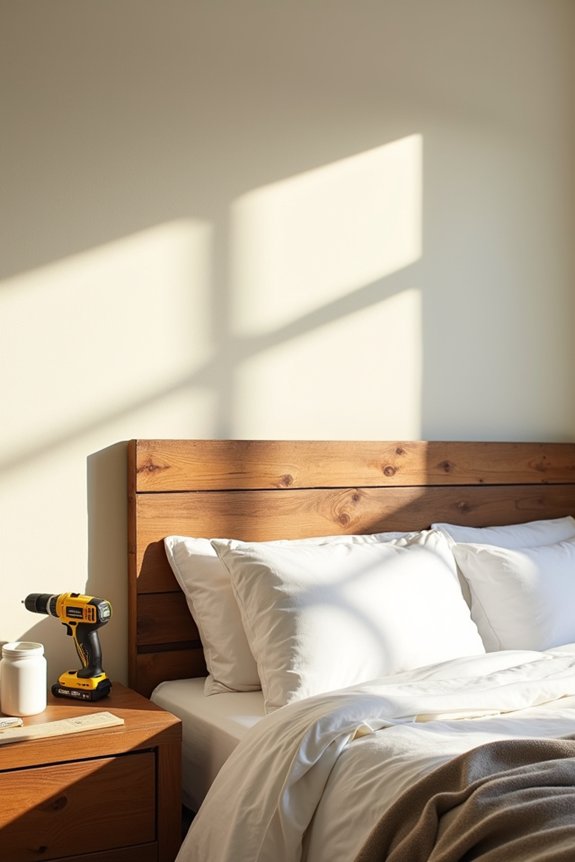
Ever wondered why you’d spend hundreds on a store-bought headboard when you can create something that’s personal to you? I’m here to show you that building your DIY headboard doesn’t require advanced skills or a massive budget.
You’ve got two solid paths: paint or build. If you’re painting, I’d grab some quality acrylic paint and sketch bold patterns directly on your wall—think geometric shapes, arches, or half-wall designs. It’s reversible and striking.
For building, reclaimed wood or antique doors work beautifully. I customize mine to fit my exact wall dimensions, which saves space and money compared to standard pieces.
Either approach makes your bedroom distinctly yours. You’re not just decorating; you’re investing in a space that feels like home.
Swap Out Lighting Fixtures for Instant Impact
One of the quickest ways to refresh your bedroom is swapping out that builder-grade ceiling fixture or dingy bedside lamp for something that actually fits your taste.
Swapping out builder-grade fixtures and dingy lamps for styles that match your taste is one of the quickest bedroom refreshes.
I’ve found that lighting fixtures are basically jewelry for your room. Here’s what I consider when choosing new ones:
- Scale matters—measure your space before buying anything
- Brass and capiz styles add personality without overwhelming
- Flush-mount options work great for low ceilings
- Bedside sconces create comfortable reading nooks
You don’t always need an electrician. Simple bulb swaps or lampshade changes are totally doable yourself. But if you’re installing a statement chandelier, that’s when you’ll want professional help.
The real benefit comes from layering your lighting. Your bedroom decor becomes more purposeful, and you’ve got proper light for dressing, reading, and relaxing. That’s the win right there.
Create a DIY Gallery Wall
Now that your lighting’s doing the work, it’s time to tackle your walls. A gallery wall gives your bedroom a personal gallery feel at a reasonable cost. I’ve created displays for under $85 by shopping for inexpensive frames at thrift stores and discount retailers. Print your favorite travel photos—London trips, family moments, anything meaningful—directly at home to keep costs minimal while personalizing the space.
Consider an art ledge instead if you want flexibility. You’ll arrange abstract prints with easy spacing adjustments, swapping pieces whenever you want. For a cohesive Master Bedroom Art Series, install frames above your bed in matching styles. This unified approach looks intentional and polished. Consistent framing keeps everything feeling connected rather than random. Your gallery wall becomes proof that DIY bedroom ideas deliver real impact without demanding perfection.
Upgrade Curtains and Rods to Frame Your Windows
What makes the biggest visual difference in a bedroom after lighting and wall art? Your curtains and rods. They frame your windows and set the entire room’s mood.
Here’s what I’d tackle this weekend:
- Choose affordable fabric from Ikea or similar stores for DIY curtains
- Mount rods slightly below the ceiling to elongate your walls
- Select blackout lining for privacy or sheer panels for openness
- Coordinate colors and patterns with your existing decor
I’ll hang curtains on quality rods—varying thicknesses create a tailored look you’d pay professionals to achieve. Adjusting rod height influences perceived ceiling height, giving your bedroom new dimension. This budget-friendly project takes just a weekend and improves your bedroom’s overall design without major renovations. The result? A room with clear design choices that demonstrates care and attention to detail.
Quick Furniture Refresh: Paint and Repurpose
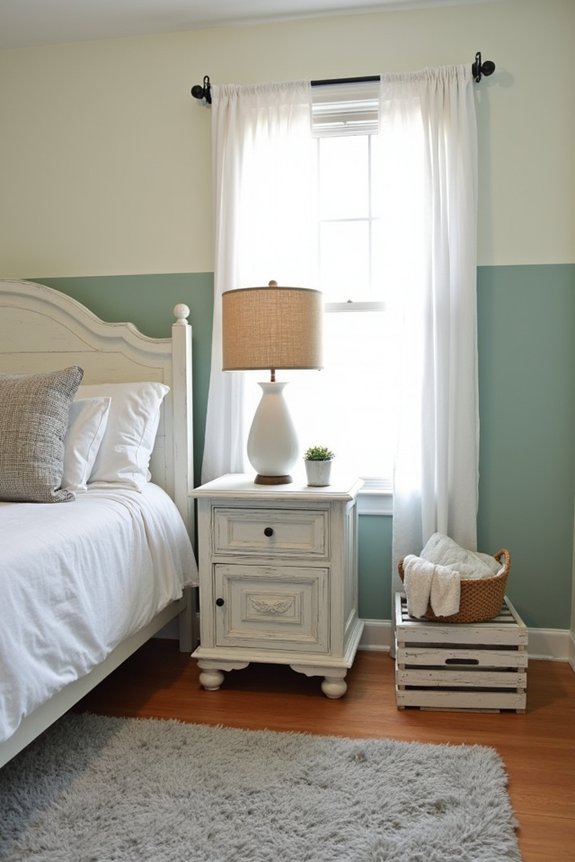
I’ve found that painting old furniture is honestly the quickest way to change how your bedroom looks without spending much money—grab a can of bold acrylic paint or soft muted tones, and you’ll completely refresh how a dresser or nightstand appears. You can also repurpose items from around your house (that stool from the living room works great as a bedside table, or use wooden trays as decorative surfaces) to add storage and personality while reducing waste. These low-cost style updates take just a weekend or two, and you’ll end up with pieces that actually match your personal taste instead of looking like everything came from the same showroom.
Paint Old Furniture Bold
Why settle for tired, outdated furniture when you can paint it with a fresh coat?
I’ve discovered that painted furniture gives any bedroom an instant upgrade. Here’s what makes this budget approach so effective:
- Bold colors modernize vintage dressers and nightstands instantly
- Monochrome finishes create dramatic, cohesive looks throughout your space
- Personal style customization matches your room’s aesthetic perfectly
- Repeating the approach across multiple pieces builds visual unity
You don’t need expensive supplies—just quality paint and basic brushes. I pick up secondhand furniture from thrift stores, then apply two coats of my chosen color. The process takes a weekend and costs significantly less than buying new pieces.
What I love most is how this approach lets me repurpose items from other rooms while staying within budget. Your bedroom changes without requiring a full remodel.
Repurpose Items For Storage
| Item | Original Use | New Purpose |
|---|---|---|
| Wooden stool | Kitchen seating | Bedside table |
| Metal basket | Laundry bin | Wall storage |
| Small desk | Office space | Vanity station |
| Woven tray | Serving platter | Drawer organizer |
| Ladder shelf | Garage storage | Wall display |
I pair these pieces with compact organizers to maximize every inch. This approach fits my style while keeping things functional and personal. You’re basically creating storage that matches your bedroom’s vibe.
Budget-Friendly Style Transformations
Have you ever looked at an old dresser or nightstand and thought it could use a complete makeover? Budget-friendly style transformations are within reach this weekend.
- Paint furniture in bold colors or calming monochromes
- Repurpose items like stools as bedside tables
- Update hardware for visual impact
- Swap light fixtures to change the whole room
I’ve tackled dressers and nightstands with paint alone—it’s quick and affordable. Pairing repainting with repurposed pieces from other rooms adds depth to your design. Matching nightstands? Not necessary. Mix finishes using secondhand or repainted pieces instead. Simple upgrades like new hardware, different light fixtures, or decorative trays yield noticeable design improvements. These DIY projects take a weekend and cost minimal money while creating a personalized space that belongs to you.
Light Your Room With Handmade Candles
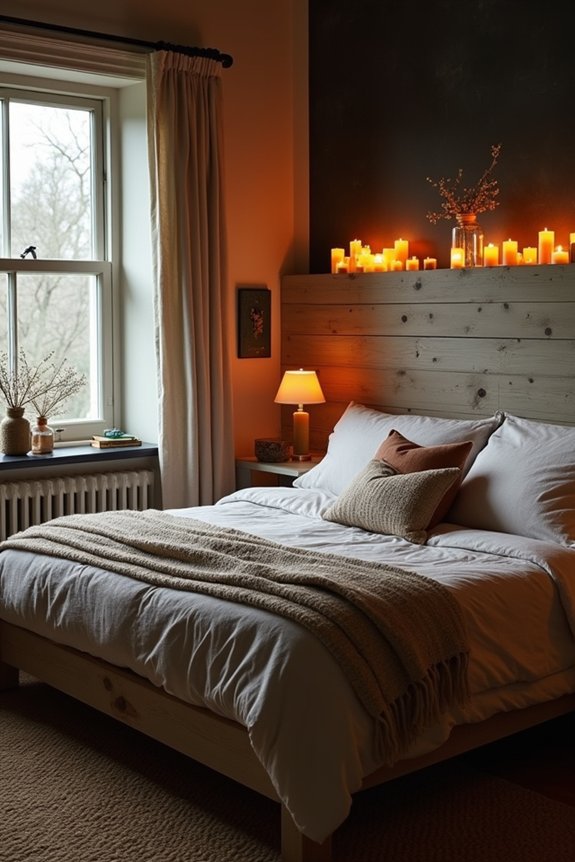
I’ll walk you through making candles that’ll fill your bedroom with scents like lavender or citrus matched to your relaxation style. You can customize everything—the container, color, and little embellishments—so your candles actually fit your room’s vibe instead of looking like generic store-bought ones. Once you’ve made a few (it’s honestly a solid weekend project), placing them on your bedside table or a decorative tray creates that warm, luxurious ambiance that makes you want to stay in bed longer.
Scent Selection And Customization
Why settle for mass-produced candles when you can craft ones that match your exact preferences and bedroom style?
Scent customization makes candle making a personal ritual. Here’s what makes it special:
- Lavender blends reduce anxiety and improve sleep quality naturally
- Citrus notes energize mornings while keeping your space fresh
- Vanilla combinations create comfort and warmth throughout your room
- Custom fragrance layering lets you design signature scents nobody else owns
Pairing scents with your decor creates a unified aesthetic. A coastal bedroom benefits from ocean-inspired fragrances, while modern spaces suit minimalist scent profiles.
Start with essential oils—lavender, eucalyptus, or lemongrass work well. Mix 15-20 drops per pound of wax. Experiment with ratios until you find your preferred balance. Your customized candles become bedroom staples that represent your individual preferences.
Container Design And Embellishments
Once you’ve perfected your scent blend, the container becomes your canvas for personal style. Glass jars, tin containers, or vintage teacups all work well for handmade candles.
| Container Type | Color Options | Embellishment Ideas | Best For |
|---|---|---|---|
| Glass Jars | Clear, frosted, colored | Paint, labels, twine | Modern bedrooms |
| Tin Containers | Metallic, pastels | Stickers, ribbon | Minimalist spaces |
| Vintage Cups | Earth tones, patterns | Dried flowers, lace | Eclectic rooms |
| Ceramic Vessels | Any color | Beads, gem stones | Bohemian vibes |
Personalize containers with paint, decorative labels, or wrapped embellishments that complement your bedroom’s style. These handmade candles serve as functional art pieces, providing soft ambient light throughout the room while maintaining a space that feels like you.
Ambiance And Relaxation Benefits
Now that you’ve got your containers looking great, it’s time to think about what those candles actually do for your bedroom experience. Handmade candles aren’t just pretty—they’re mood-makers that create a personal retreat.
Here’s what works best:
- Lavender scents calm your nervous system before bed
- Soft candlelight pairs perfectly with bedside lamps for layered lighting
- Custom fragrances match your personality and decor theme
- Consistent scent routines signal your body it’s relaxation time
When you light your candles, you’re creating an atmosphere that says “this space is mine, and it’s peaceful.” I combine mine with linen sprays for cohesive aroma throughout the room. The warm glow from candles beats harsh overhead lighting every time. Your bedroom becomes a sanctuary where you actually want to spend time.
Layer Textiles for Texture and Warmth
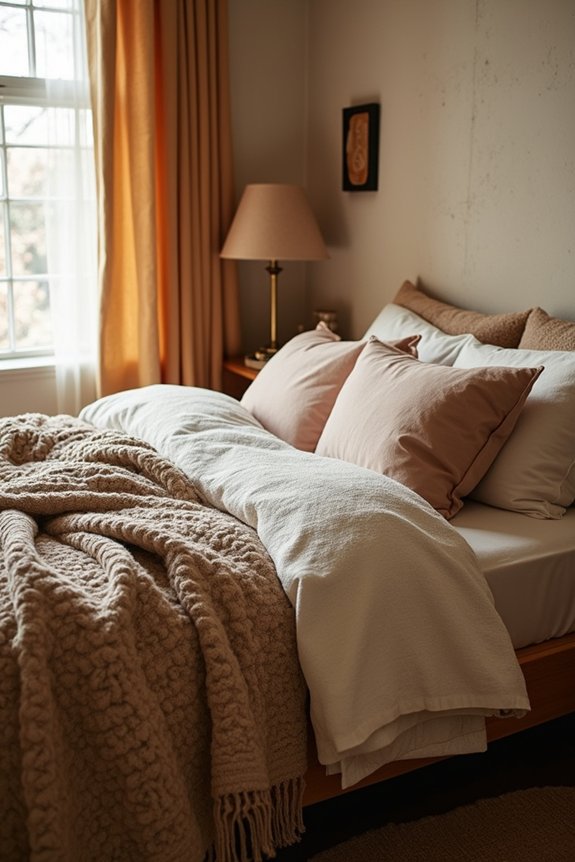
How do you make a bed feel genuinely comfortable instead of just functional? Start layering textiles in complementary colors. I use crisp cotton sheets as my base, add a linen duvet, then drape a chunky knit throw across the foot. This combination creates depth that draws you in.
Mix pillow shapes and sizes—euro pillows paired with standard ones—to build that composed, deliberate look. Don’t stop at the bed. Hang blankets on wall hooks or add woven tapestries to soften hard lines and introduce texture throughout your space.
The key? Choose textiles with subtle sheen—silk or satin accents bring in quiet luxury without demanding attention. You’re building layers that whisper comfort, not announce it.
DIY Book Display and Organization
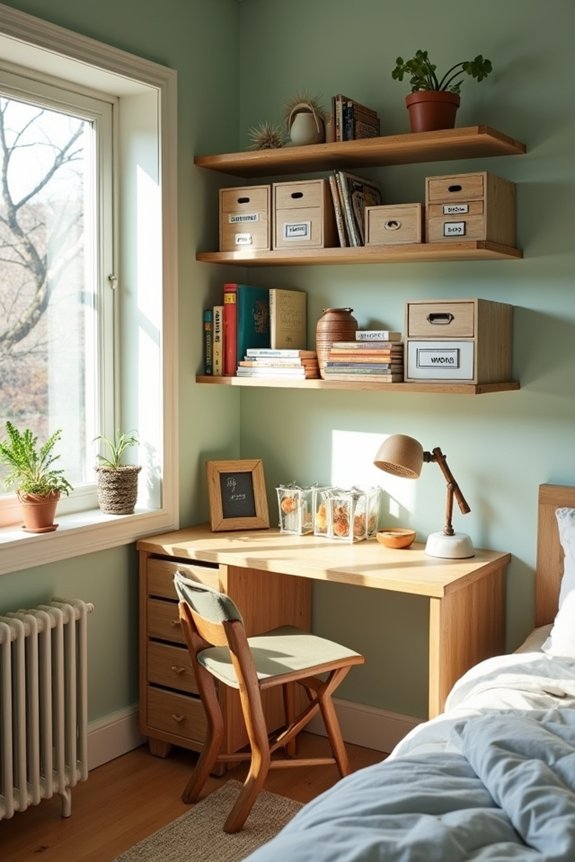
Your bedroom shelves shouldn’t just hold books—they should tell a story about who you are. I organize my collection by color grouping, which makes storage visually interesting. Here’s how to create your own styled bookshelf:
- Sort books by spine color, creating a rainbow effect that draws attention
- Mix in decorative objects between book clusters for breathing room
- Stack some books horizontally to add dimension and break up vertical lines
- Leave 20-30% of shelf space empty so the display doesn’t feel cramped
This approach makes your books easy to find while keeping your bedroom organized. You’re not just storing reading material—you’re arranging a personal gallery. Your shelves become an extension of your style, creating a space that expresses your personality.
Bring Nature Indoors With Plants and Greenery
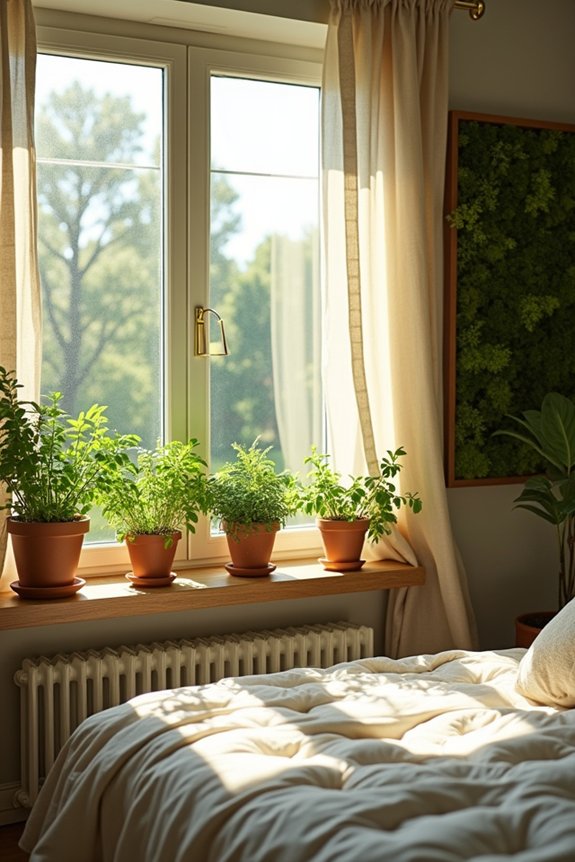
Why settle for bare walls when you can fill your bedroom with living color and fresh air?
Why settle for bare walls when you can transform your bedroom with living plants, natural elements, and calming scents?
I’ve discovered that indoor plants add life to my space at a reasonable cost. I propagate cuttings from existing plants to grow more greenery affordably. If maintenance worries you, faux greenery still adds life and color beautifully.
I position my plants near indirect sunlight, which keeps most houseplants thriving. I also incorporate natural elements—rocks, branches, or pressed flowers—to create textured displays throughout my room.
Here’s my favorite approach: I pair my greenery with calming scents like lavender diffusers. This combination enhances relaxation and creates an inviting atmosphere that feels personal and welcoming. Your bedroom becomes a place of calm and comfort.
Set Up a Bedroom Vanity
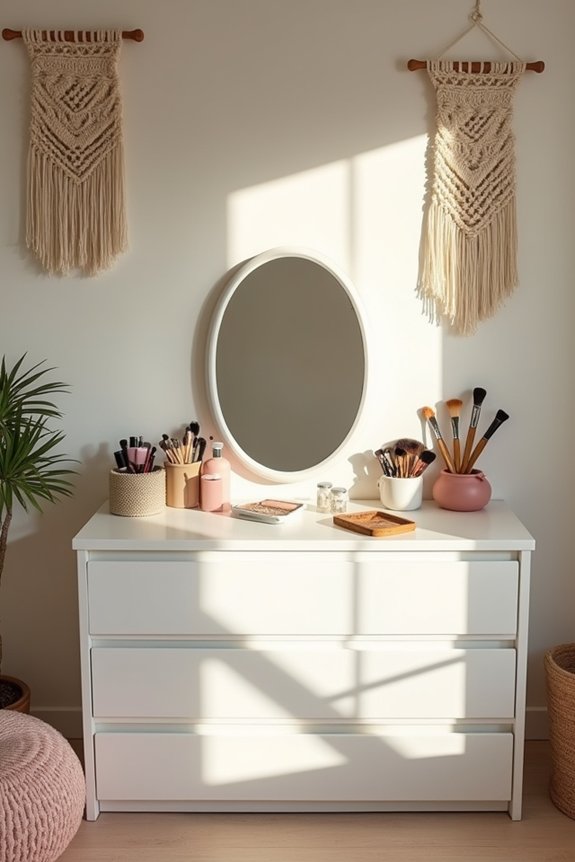
I’ll show you how to create a functional vanity that doesn’t eat up your floor space—just grab a slim desk or table and mount a mirror above it to keep things compact. Position your mirror at eye level and add a small lamp or LED strip lighting on either side so you have proper visibility while getting ready. From there, add a few drawer organizers or small shelves beside your setup to keep your brushes, skincare, and makeup organized in one spot.
Space-Saving Design Solutions
How can you carve out a dedicated grooming space without sacrificing precious bedroom real estate? A smart bedroom makeover doesn’t require installing built-in vanities. Instead, try these space-saving solutions:
- Repurpose a small desk or table as your vanity base
- Mount a hanging mirror on the wall to eliminate floor footprint
- Install wall-mounted organizers for makeup, jewelry, and tools
- Add task lighting above your vanity for bright, functional illumination
Keep your grooming essentials organized on floating shelves and magnetic trays near your vanity. Choosing matching hardware and finishes creates a polished, unified look that demonstrates deliberate planning. This approach lets you maintain a functional grooming area while keeping your bedroom feeling open and uncluttered—exactly what you need when space is tight.
Mirror And Lighting Placement
Once you’ve picked your vanity spot, the mirror and lighting are essential components—they’ll determine how functional your setup actually is. I’d recommend mounting your vanity mirror near a window if possible, which gives you natural light and prevents those annoying shadows on your face. For bedroom lighting, install bedside sconces or a dedicated mirror light on either side of your vanity mirror. This creates even illumination suitable for makeup application and grooming tasks. Framing your mirror with wood or metal provides visual interest while serving as a focal point. Keep everything organized using small trays and storage boxes on the surface. This keeps your essentials accessible without creating visual clutter.