Start by measuring your room’s length, width, and ceiling height—this determines everything else. Space pot lights about half your ceiling height apart (8-foot ceiling means roughly 4 feet between fixtures), and keep them 3 feet from walls to avoid shadows and hotspots.
Map your seating first, then position lights 2–3 feet from where you’ll sit. Use 2700K dimmable LEDs with baffle trims for glare control, and split fixtures into separate dimmer zones for flexibility. A quick flashlight test reveals exactly how your layout will perform once you dig deeper into placement specifics.
Measure Your Room and Understand Spacing Basics
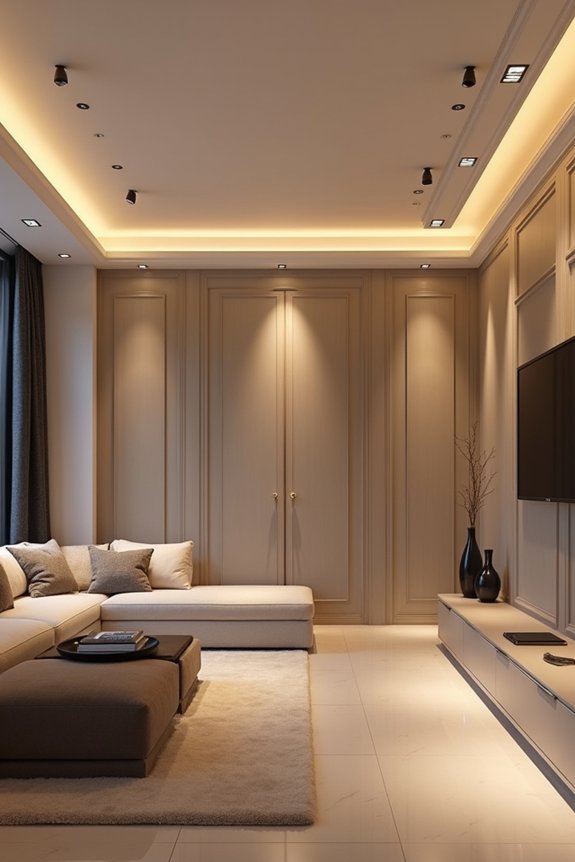
How’d you like to end up with dark corners and weird shadows all over your living room?
I’m going to walk you through measuring your space properly. First, grab a tape measure and document your room dimensions—length, width, and ceiling height. These numbers matter because they determine everything about your spacing rule. Here’s the trick: divide your ceiling height in half. Got an 8-foot ceiling? Space fixtures about 4 feet apart.
Next, I’ll help you avoid wall shadows by keeping fixtures 2–3 feet away from walls. Create a scaled diagram showing your room layout. Mark where each pot light goes, considering your fixture distribution across the space. This lighting plan becomes your roadmap before you drill anything. Mapping this out now saves frustration later.
Define Your Lighting Needs: Ambient, Task, or Accent
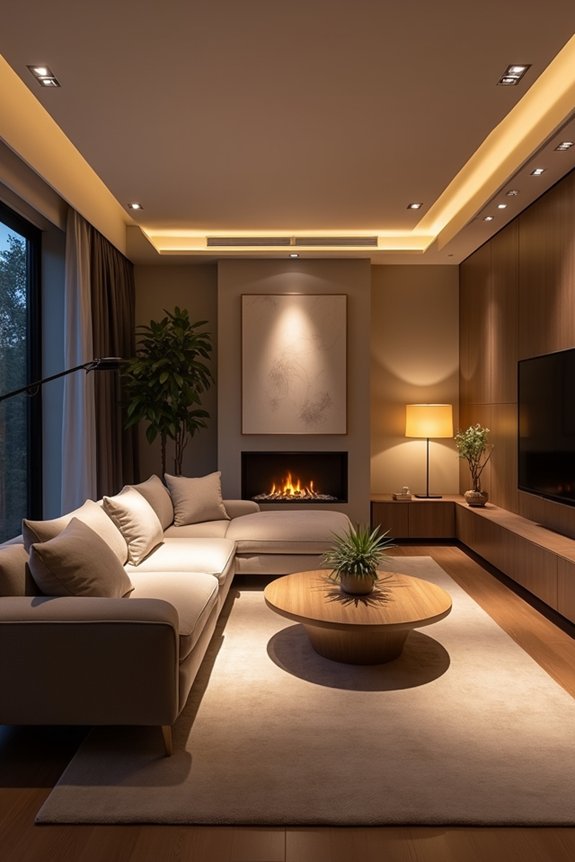
Before you start placing pot lights everywhere, you’ve got to figure out what you actually need them to do. Think about your living room’s purpose. Do you want ambient lighting that fills the whole space evenly? Task lighting for reading or working? Accent lighting to showcase art or architectural features? Each serves a different role. Ambient lighting creates your base layer, spacing recessed lights roughly half your ceiling height apart. Task lighting goes brighter near seating areas, angled to avoid glare. Accent lighting highlights specific features from 12–18 inches away. Here’s the thing: you probably need all three. Creating separate lighting zones lets you control each independently, matching your mood and activity. This flexibility adjusts your room’s appearance throughout the day.
Map Seating Areas to Prevent Glare
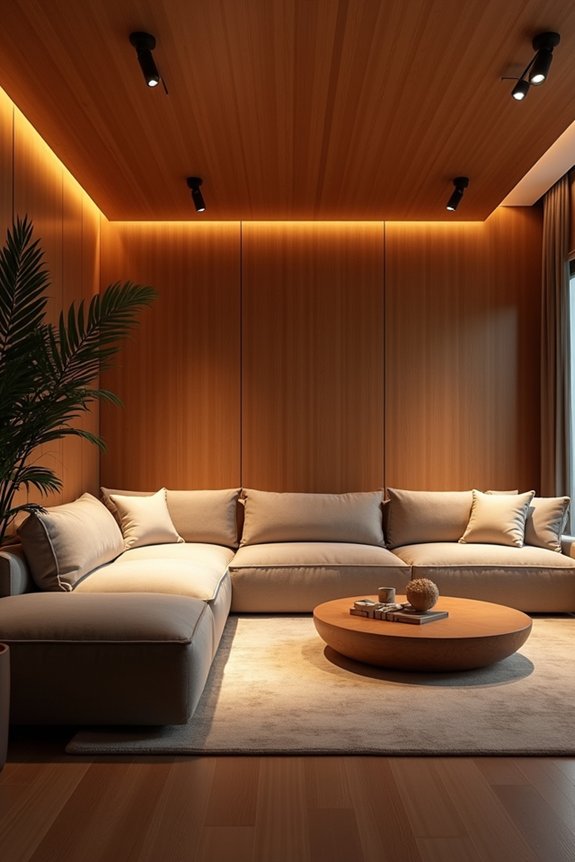
I’ll map out your seating first—knowing exactly where you’ll sit helps you address glare and shadows. Position your pot lights 2–3 feet away from seating edges, angling them slightly forward or to the sides rather than straight overhead (bright light directly overhead creates discomfort). This strategic placement lets you layer ambient and task lighting together, keeping your space both functional and comfortable without those annoying hotspots.
Seating Arrangement Analysis
Where you sit in your living room shouldn’t mean battling annoying light in your eyes or watching your TV screen turn into a glare-filled mess. I’d recommend starting by mapping out your exact seating arrangement before you install anything. Measure where your sofa, recliners, and chairs actually sit—not where you think they’ll go. Once you’ve got that down, plan your beam placement around those zones. Position pot lights at least 3 feet from walls and space them roughly 4–5 feet apart for 8–9 foot ceilings. This spacing from walls prevents harsh shadows while allowing side lighting to illuminate seating without direct eye contact. Use dimmable fixtures to fine-tune brightness. Your glare control strategy depends entirely on understanding exactly where people will sit.
Strategic Light Positioning
How you angle your pot lights determines whether your room feels welcoming and well-lit or leaves people squinting at their TV or shielding their eyes mid-conversation.
Strategic lighting placement improves your seating areas. Here’s what works:
- Position pot lights in front of or at angles to seating, never directly overhead
- Space fixtures about half your ceiling height apart (5 feet on a 10-foot ceiling)
- Keep all lights at least 3 feet from walls to prevent shadow scalloping
- Use adjustable eyeball trims to aim light toward faces without glare
- Install dimmable fixtures for separate lighting zones around couches
This approach reduces glare while maintaining good ambiance. You’ll watch TV comfortably and enjoy conversation without harsh shadows or bright spots washing out your screens.
Space Pot Lights About Half Your Ceiling Height
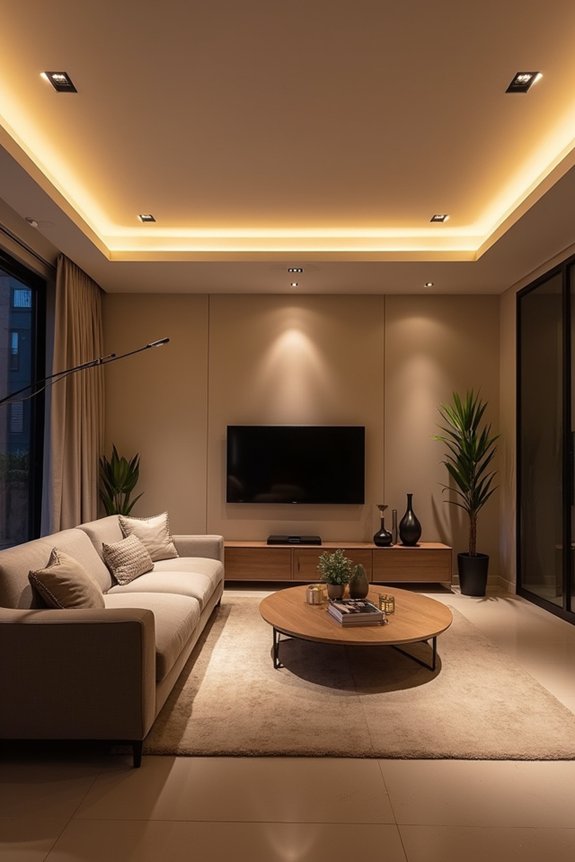
One of the most reliable tricks I’ve found for positioning pot lights is using your ceiling height as your spacing guide. Here’s how I do it: I measure my ceiling height, then space fixtures at roughly half that distance. For an 8-foot ceiling, that’s about 4 feet between pot lights. This half-height spacing creates even ambient lighting without harsh shadows or bright hotspots on your walls.
I also keep fixtures 2-3 feet away from walls. This wall clearance prevents that scalloped effect where light pools weirdly along edges. When I’m working with longer rooms, I maintain this same half-height principle while adjusting individual fixture spacing to every 4-6 feet along the ceiling. The result is a balanced lighting layout that works throughout your living room.
Keep Lights 3 Feet From Walls
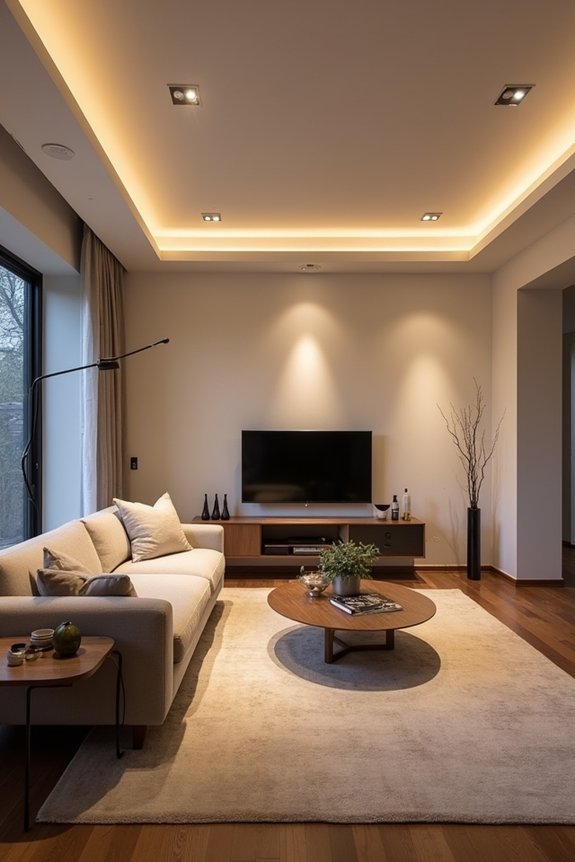
The 3-foot wall clearance is just as important as your spacing math, and I’ve learned this the hard way after seeing plenty of badly lit rooms. When you’re placing recessed lighting, pushing fixtures too close to walls creates harsh shadows and scalloping—those annoying curved light patterns on your ceiling.
Here’s what I’ve discovered about wall clearance:
- Keep all recessed lights minimum 3 feet from walls for even lighting
- This distance prevents wall-wash hotspots and glare concentration
- Wall clearance works regardless of your room’s shape or layout
- Mark wall boundaries first before plotting other light spacing
- This guideline pairs perfectly with your ceiling height spacing rule
I recommend mapping walls first, then measuring 3 feet inward. This approach keeps your light spacing and wall-clearance working together, giving you balanced illumination throughout your living room without those frustrating dark corners.
Highlight Architectural Features With Accent Placement
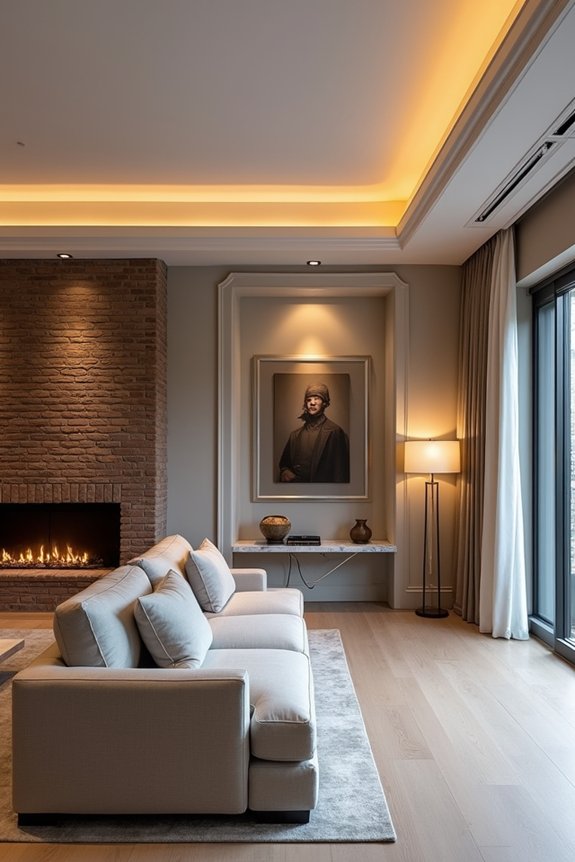
Want your living room to feel like a high-end gallery? Accent lighting creates showcase rooms. Position your fixtures 12–18 inches from the wall, aiming your beam at roughly a 30-degree angle. This creates dramatic focal points on artwork or textured surfaces without overwhelming the room.
I’d recommend using 4-inch fixtures for precise, directional highlights. They’re small enough to stay subtle while delivering serious impact. Pair them with dimmable LEDs in the 2700K–3000K range—that warm color keeps things gallery-like and inviting.
The real trick? Combine baffle trims to reduce glare with adjustable eyeball trims. This combo lets you angle light exactly where architectural features deserve attention. Your wall distance matters too; getting spacing right prevents hot spots and maintains even coverage across your featured elements.
Choose Fixture Trim and Bulb Type
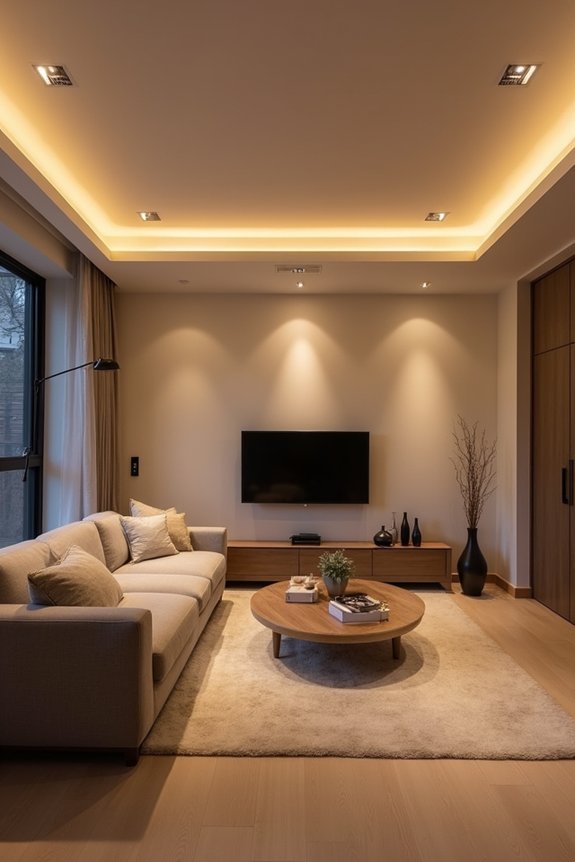
Now that you’ve planned where your pot lights go, you’ll want to think about what trim style and bulbs actually work best for each spot. Your trim choice matters—grab baffle trim for your seating areas to cut down glare, or pick adjustable eyeball trims if you’re lighting a reading nook where you need to aim the light just right. For bulbs, stick with dimmable LEDs in the 2700K–3000K range (they’ll give you that warm feeling), and you’ll appreciate their 25,000–50,000 hour lifespan when you’re not replacing them every few months.
Trim Style Considerations
– Consider where your light actually goes, as this shapes your entire trim style choice. Matching your trim to your room’s needs is important for effective lighting design.
Here’s what you should consider:
- Baffle trims reduce glare for ambient lighting throughout your space
- Reflector trims boost brightness and spread light wider for task areas
- Adjustable/eyeball trims let you direct light toward seating, artwork, or architectural features
- 4-inch fixtures work best for accent lighting without creating hotspots
- 6-inch fixtures handle general ambient light coverage effectively
For recessed lighting, pair LED bulbs (2700K–3000K) with dimmer compatibility. This combination provides smooth dimming control and consistent warm illumination. Your trim style and bulb type work together—choose them as a coordinated system rather than separately. This approach ensures glare control and adjustable focus that serves your living room’s specific needs.
Bulb Type Selection
Once you’ve locked in your trim style, the bulb you choose affects how that light performs in your living room. LED bulbs offer energy efficiency and durability—they’ll last years longer than traditional options. For bulb type selection, consider your color temperature carefully.
| Bulb Type | Color Temp | Best For | Key Benefit |
|---|---|---|---|
| Warm White LED | 2700K–3000K | General ambient lighting | Inviting atmosphere |
| Dimmable LED | 2700K–3000K | Mood layering | Fine-tuned brightness |
| Directional LED | Various | Focal point lighting | Glare control |
| Standard LED | 3000K–4000K | Task areas | Bright, functional |
Dimmable bulbs paired with compatible dimmers let you adjust brightness without flickering or buzzing. Directional or adjustable bulbs help target artwork and seating while minimizing reflections on screens. Your recessed lighting setup improves when you match the right bulb to each fixture’s purpose.
Finish and Aesthetic Compatibility
Getting the trim style and bulb working together makes your living room feel polished—not just bright. Your ceiling height and room layout determine which trims work best for your recessed lighting placement.
What to focus on:
- Baffle trims reduce glare and create softer, more uniform glow across your space
- 6-inch LED trims with 2700K–3000K color temperature match warm living-room tones naturally
- Adjustable eyeball trims let you highlight areas like your sofa or artwork
- High-CRI LEDs (90+ CRI) render furniture colors accurately under ambient lighting
- Dimmable bulbs adapt brightness for different activities and layer with other fixtures
Your trim choice should complement your décor’s finish—whether that’s brushed nickel, matte black, or white. Matching your lighting fixtures to existing hardware creates a consistent look.
Select Warm Color Temperature for Cohesion
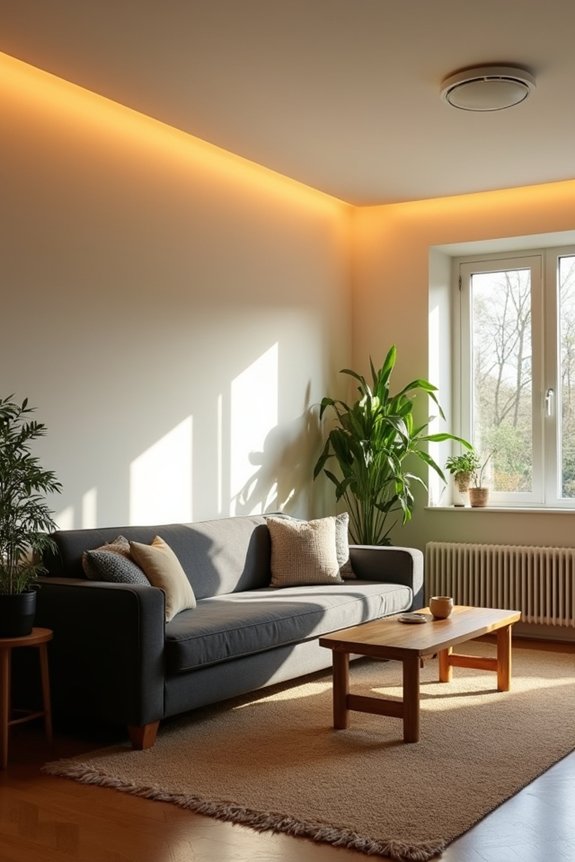
Why’s color temperature so important for pot lights? It makes or breaks your living room’s entire vibe. I recommend choosing warm color temperature between 2700K–3000K for your pot lights—this range creates cohesion throughout your space. At 3000K, skin tones and white surfaces look natural, which means your furniture and artwork actually read the way you intended them to.
Here’s what I’ve found: warmer temperatures reduce that harsh blue-rich glare that makes adjacent lighting feel disconnected. If you’re using dimmers, 2700K LEDs at lower brightness maintain consistent warmth as you adjust illumination levels. This matters especially if you’ve got existing warm-toned furnishings—matching your color temperature prevents annoying color shifts and keeps visual unity strong across your entire living room lighting scheme.
Set Up Dimmable Zones for Flexible Control
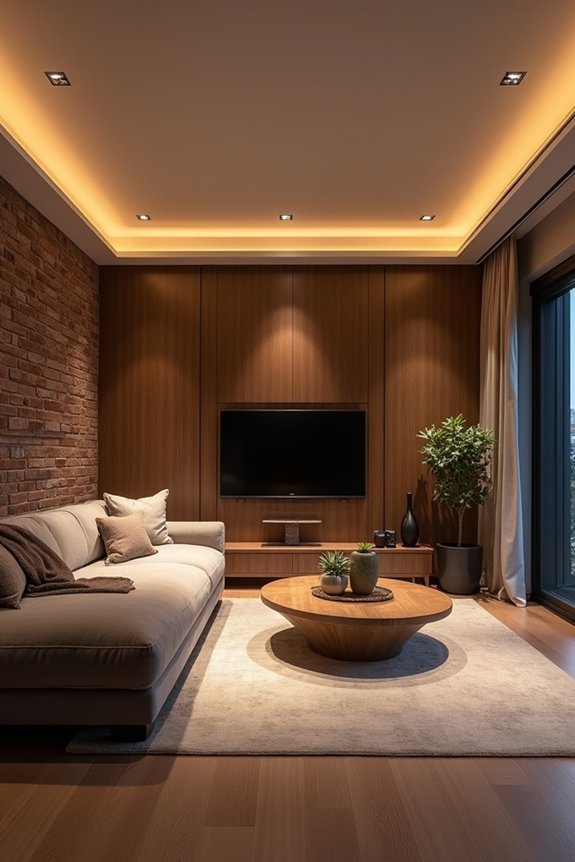
There’s the point about living room lighting: you’ll want different brightness levels depending on what you’re doing.
Different activities demand different brightness levels—that’s the foundation of good living room lighting design.
I’d group your recessed lights into 2–4 separate circuits, each with its own dimmer or smart switch. This creates dimmable zones that let you control different areas independently. Here’s what works:
- Group lights around seating areas on one circuit for ambient lighting
- Dedicate another zone to your fireplace or artwork for accent control
- Use a third circuit for task lighting near reading spots
- Connect everything to smart switches for automatic adjustments by time of day
- Test dimming performance from various seating positions to catch any flickering
You’re building flexibility into your living room. When you’re watching TV, dim the seating zone. When guests arrive, brighten everything. That’s lighting control that actually serves your life.
Test Your Layout Before Installation
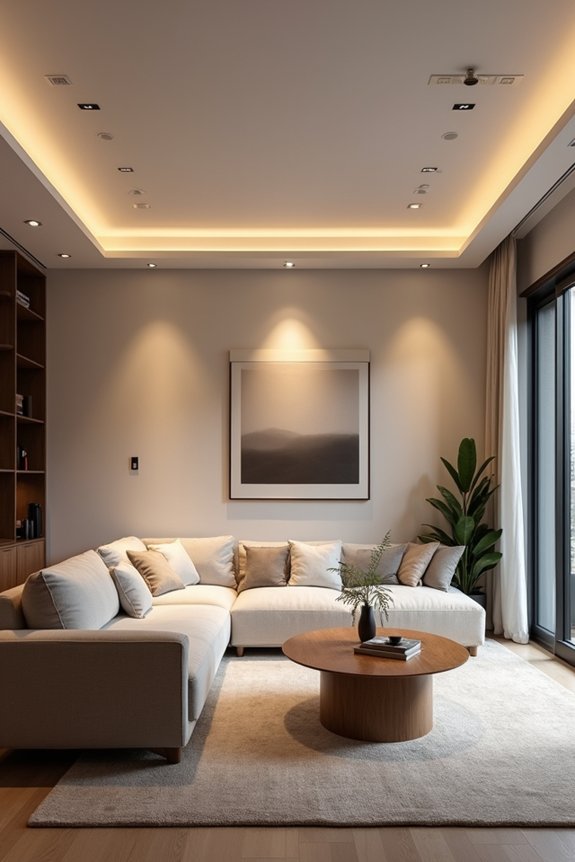
Before you drill any holes, grab some flashlights and tape them to your ceiling at different angles to see how the light actually spreads across your room—it’s much less expensive than finding out mid-installation that you’ve placed everything wrong. Next, walk through your space at different times doing normal activities like reading or watching TV to make sure the brightness feels right and doesn’t create weird shadows or glare on anyone’s face. Once you’ve got a layout that works, mark those spots with temporary tape lines on the ceiling so you can live with the plan for a day or two before committing to permanent placement.
Flashlight Simulation Technique
How’d you like to avoid ripping holes in your ceiling only to realize your lighting plan doesn’t actually work?
I grab my flashlight and test the layout before installation. Here’s what I do:
- Position the flashlight at multiple angles and heights to spot shadows
- Move along the room to identify dark spots and adjust accordingly
- Observe potential glare and check for even illumination across seating areas
- Check that direct beams don’t shine into anyone’s eyes when seated
- Document findings with notes or photos for reference
This flashlight test validates my spacing plans using the half ceiling height rule and 2–3 feet from walls. I’m simulating how pot lights illuminate focal points and walls. Testing different positions shows me exactly where shadows fall and helps me plan dimming controls. It’s practical, tactile, and saves me from costly mistakes before any installation happens.
Temporary Placement Verification
Once you’ve mapped out your spacing using the half ceiling height rule, it’s time to actually see how those lights’ll perform in your living room.
I tape a flashlight to the ceiling in each planned spot and observe from my seated positions. This testing method reveals whether your room size needs adjustment based on actual shadows and ambient lighting distribution. I move around, noting dark corners and overly bright spots.
Your ceiling height directly affects spacing effectiveness. I test different configurations before committing, sometimes discovering that my initial plan created unwanted shadows near walls or missed key areas entirely.
This hands-on verification takes an hour but saves installation headaches. You’ll catch spacing issues early and adjust your fixture placement with confidence.
Adjusting Before Permanent Installation
Why rush into drilling holes when you can test everything first?
I’ve learned that adjustable trims are your best friends during setup. They let me aim beams in different directions without commitment, which saves money and frustration later. Here’s what I do before going permanent:
- Test beam direction using adjustable trims in your temporary setup
- Verify spacing from walls prevents scalloping and shadows
- Confirm ceiling height calculations match your actual fixture positions
- Evaluate brightness levels across zones for functions like reading or TV viewing
- Adjust placement based on how light actually spreads through your room
Once I’m satisfied with how light covers my conversation areas and work zones, I mark final positions. This temporary phase takes extra time, but it’s worth avoiding permanent mistakes. You’ll know everything works for your space before you commit.