
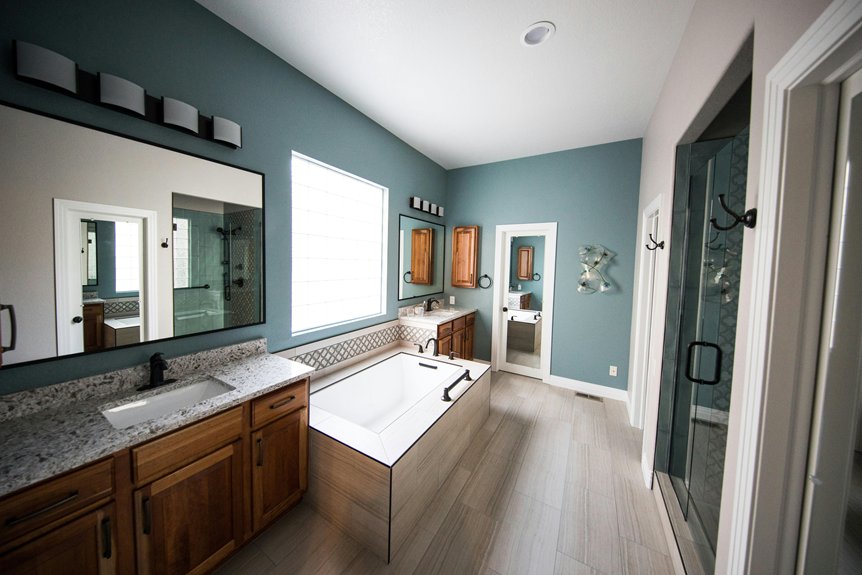
Most bathroom remodels take two to six weeks from demolition through final walkthrough, though your actual timeline depends on several factors.
Small DIY projects typically finish in two to three weeks, while professional crews often wrap them in one to two weeks.
Larger full-scale remodels run four to six weeks DIY or three to four weeks with professionals.
Permits, material delays, and unexpected discoveries during demolition can stretch things longer, so building in buffer time matters.
There’s more to know about managing each phase strategically.
Average Timeline: What to Expect From Start to Finish
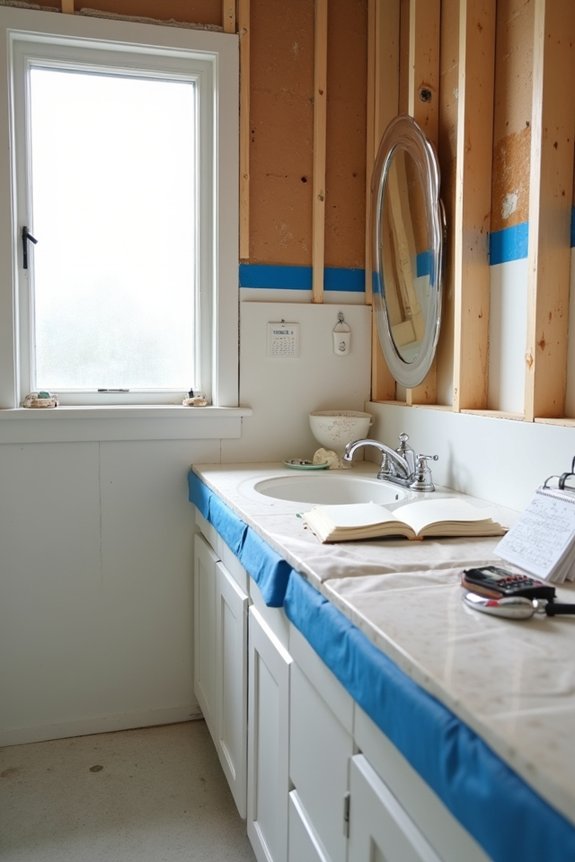
How long will your bathroom remodel take? Most projects wrap up in 2 to 6 weeks, depending on what you’re actually doing. A standard bathroom remodel timeline breaks down like this: Week 1 handles prep work and demolition, Week 2 tackles finish carpentry and site prep, Week 3 focuses on tile and major finishes, and Week 4 covers final touches and your punch list.
Your specific timeline factors matter though. Small DIY bathrooms usually run 2–3 weeks, while professional crews often finish small projects in 1–2 weeks. Full-scale remodels stretch longer—around 4–6 weeks DIY or 3–4 weeks with professionals. Project phases that involve plumbing or electrical changes, material delays, or permits can easily push things beyond these estimates. Knowing your bathroom remodel timeline helps you plan accordingly.
Planning, Permits, and Pre-Construction Setup
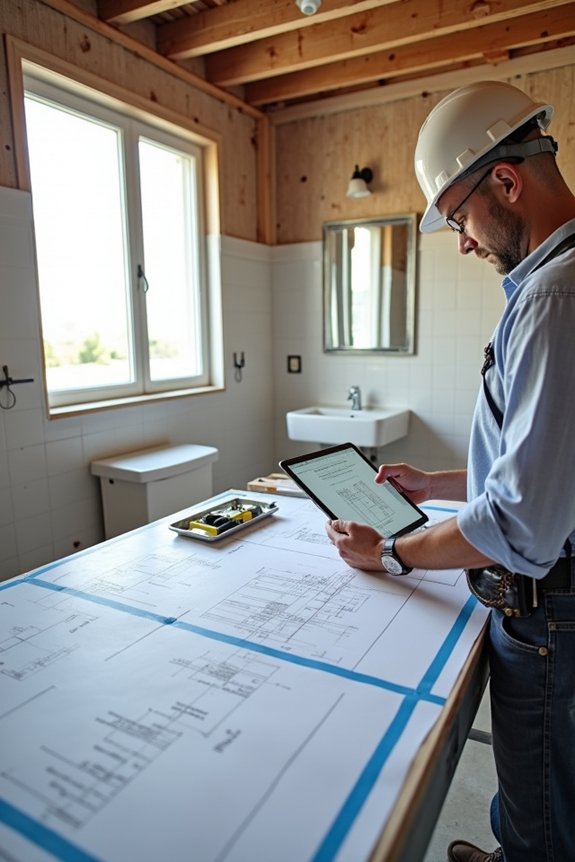
Before you swing a sledgehammer or order a single tile, you’ll want to invest time in planning, permits, and pre-construction setup—the foundational work that keeps everything else from falling apart.
Planning takes one to two weeks. You’ll measure your space, decide your vision, select materials, and get contractor quotes. This groundwork matters because it prevents expensive mistakes later.
Permits depend on your location. Some areas require them for plumbing or electrical work; others don’t. They’ll add time to your timeline, but skipping them invites serious problems.
Pre-construction means vetting contractors, coordinating schedules, and preparing your site. You’ll discuss safety plans, lifestyle impacts during work, and confirm your architect has all plumbing and gas plans finalized.
This alignment phase completes all decisions before demolition begins.
Week 1: Demolition and Rough-In Work
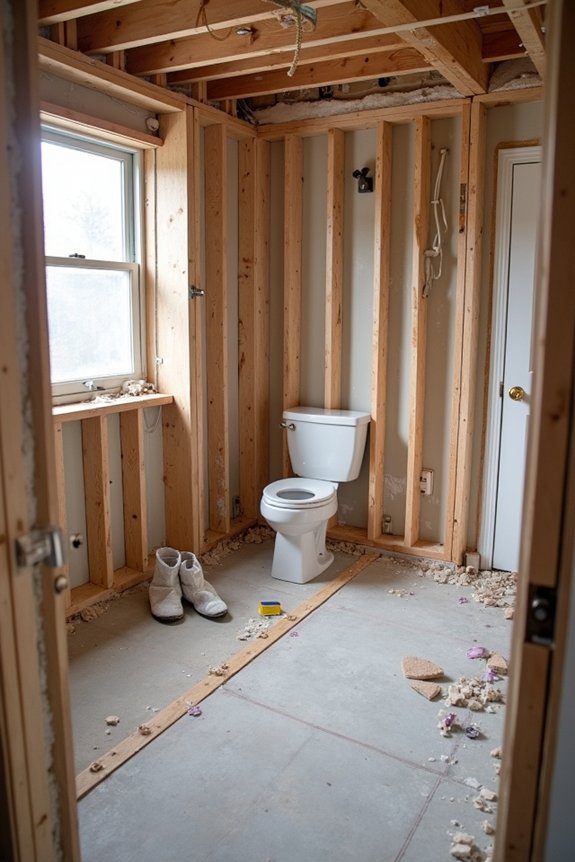
Week 1 kicks off with a pre-construction meeting where you’ll review the plan, safety protocols, and how your contractor’ll protect your home before any work starts. You’re looking at roughly half a day to one full day of demolition—tearing out old fixtures, tiles, and cabinets to expose the bones of your bathroom. Then comes the rough-in phase (2–3 days), where plumbing, electrical, and framing get installed, followed by inspections to verify everything meets code before moving forward.
Preparation and Site Protection
What happens during that first week of your bathroom remodel? Before demolition starts, we’ll protect your home and establish clear expectations. Here’s what I’m handling for you:
- Conducting a pre-construction meeting to discuss the schedule, safety protocols, and how construction will impact your daily life
- Setting up site protection with barriers and coverings to prevent dust and damage to finished surfaces throughout your home
- Planning the demolition sequence to safely remove old bathroom components and create a clean workspace
- Preparing surfaces by removing nails, old trim, and ensuring flat, debris-free areas
These preparation steps take just a day or two but make everything that follows smoother. We’re clearing the stage so rough-in work—plumbing, electrical, and framing changes—can happen efficiently over the next 2–3 days. This foundation prevents headaches later.
Demolition Process and Timeline
Once we’ve protected your home and mapped out our plan, demolition kicks off—and it’s faster than you’d expect. I’ll strip out old fixtures, remove nails, and haul away debris in roughly ½–1 day. We’re creating a completely flat, clean workspace for what comes next.
| Phase | Duration | Key Tasks | Purpose |
|---|---|---|---|
| Fixture Removal | 4–6 hours | Toilets, vanities, mirrors | Clear space |
| Surface Prep | 2–3 hours | Trim removal, nail extraction | Smooth walls |
| Debris Haul | 1–2 hours | Trash removal | Safe site |
| Final Walkthrough | 30 minutes | Quality check | Ready for rough-in |
Right after demolition wraps, we’ll move into rough-in work—plumbing, electrical, and framing installations lasting 2–3 days. This timeline keeps your project moving forward smoothly without unnecessary delays.
Rough-In Installation and Inspections
With your bathroom stripped down to bare studs and all debris cleared out, we’re ready for the real work to begin—rough-in installation. This phase tackles the hidden infrastructure that makes everything work:
- Plumbing runs water lines and drain pipes behind walls
- Electricity installs wiring for outlets, lighting, and ventilation
- Framing adds structural support for fixtures and shelving
- HVAC maintains proper moisture control through ventilation
These tasks typically take 2–3 days. You’ll see pipes snaking through walls, electrical conduit running overhead, and new framing secured in place. Once rough-in’s complete, inspectors verify everything meets code requirements—about 1 day total. They’re checking that your plumbing-electricity setup is safe and properly installed before we cover those walls. This inspection catches problems now, saving headaches later.
Week 2: Framing, Drywall, and Waterproofing
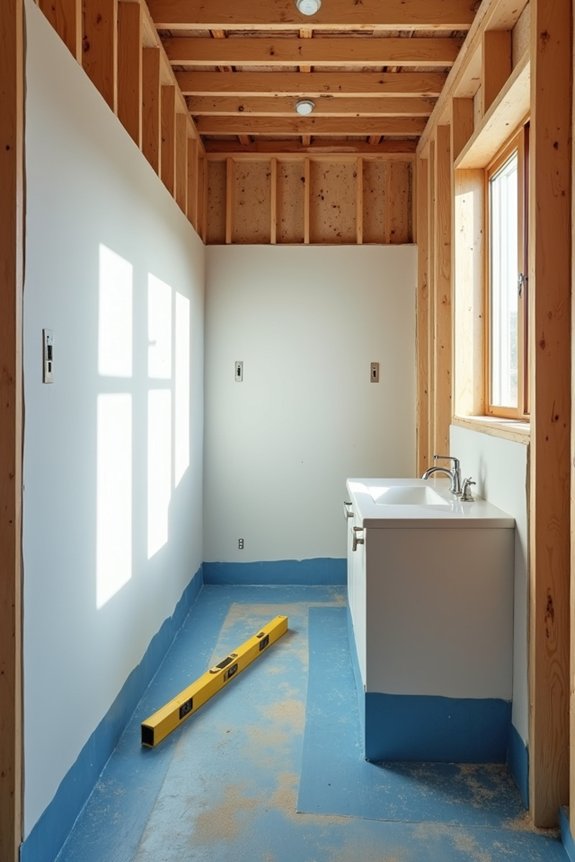
Your bathroom moves from a gutted shell into an actual room during Week 2. Your contractor’s installing framing—those wooden studs that’ll become your walls. Next comes drywall, which gets hung over the framing to create smooth surfaces. This part takes about 3–4 days of focused work.
Here’s what matters: waterproofing. Before any tiles go down, your contractor seals moisture-prone areas with specialized membranes and sealants. This prevents water damage later—it needs to be done correctly.
Week 3: Tile Installation and Major Finishes
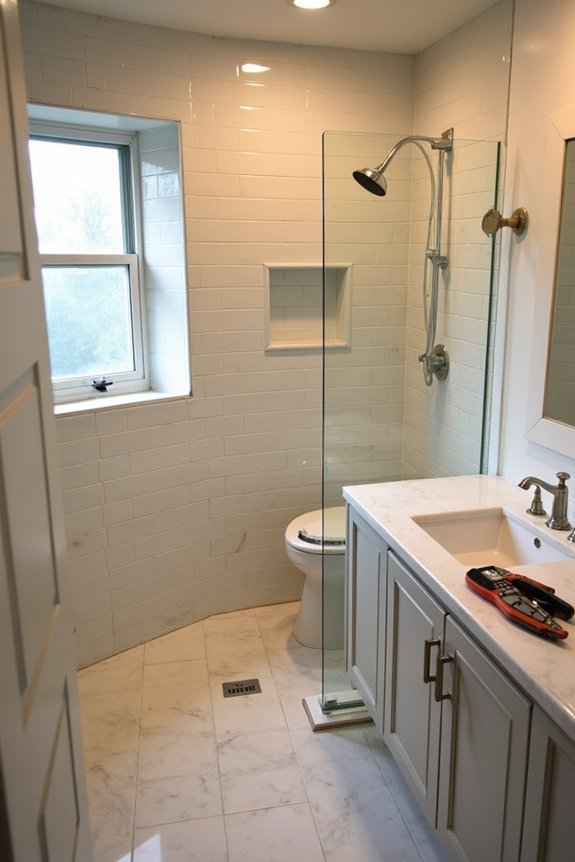
By Week 3, your bathroom is taking shape. This is when tile installation and major finishes happen, covering those bare walls with finished surfaces.
Here’s what’s happening this week:
- Backing substrate application – We’re preparing surfaces to hold tile securely
- Mortar spreading – This adhesive bonds tiles permanently to walls and floors
- Tile setting – Individual tiles go down in your chosen pattern
- Grout application – This fills gaps between tiles, creating even surfaces
The timeline depends on your design scope and tile size. Smaller tiles take longer since they require more individual placement and grouting. By week’s end, you’ll have substantially completed major finishes, setting us up for final touches in Week 4. You’re getting close to your finished bathroom.
Week 4: Fixtures, Final Carpentry, and Punch List
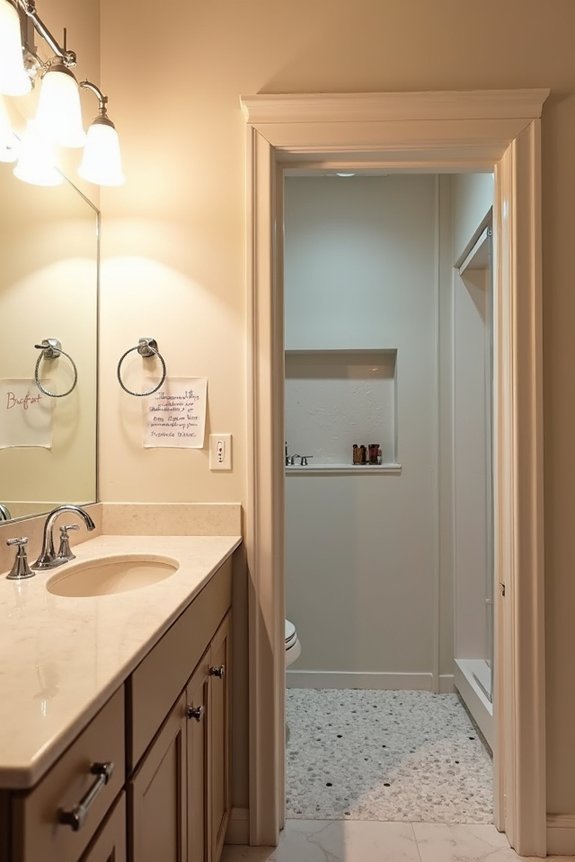
Week 4 is where your bathroom moves from a construction zone into a functioning space. You’ll see vanity installation happen after flooring and plumbing wrap up. Simultaneously, finish carpentry gets done. That means trim, painting, and those fine details that complete the work.
| Task | Timeline | Status |
|---|---|---|
| Fixtures Installation | Early Week 4 | Priority |
| Finish Carpentry | Mid Week 4 | In Progress |
| Final Punch List | Late Week 4 | Pending |
| Project Closeout | End of Week 4 | Ready |
Your superintendent identifies the final punch list toward week’s end. This catches any remaining items needing attention. Once you’ve addressed everything on that list, the project is complete. Your bathroom’s ready for use.
How Bathroom Size Affects Your Timeline?
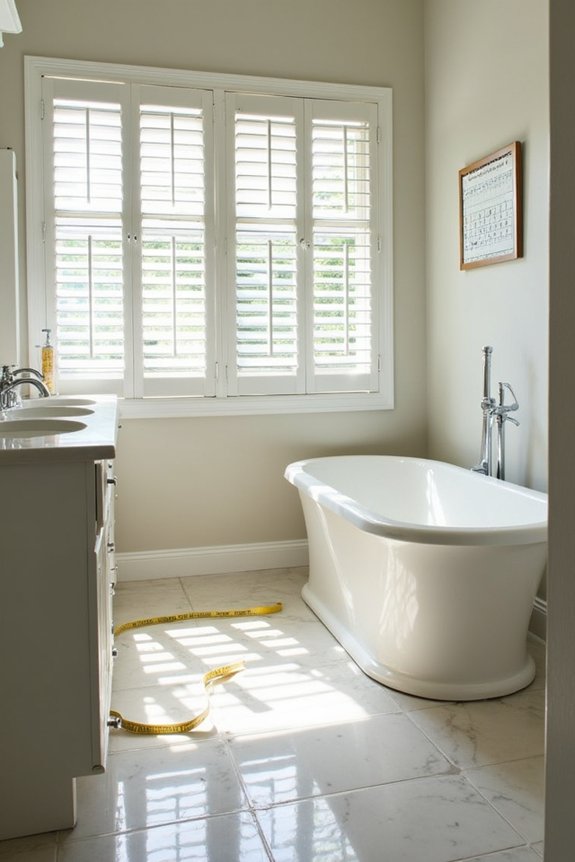
Does your bathroom feel like a closet or sprawl across 100 square feet? Your bathroom’s size directly affects how long your remodel takes.
What typically happens:
- Small bathrooms (under 40 sq ft) usually need 2–3 weeks
- Medium bathrooms (40–100 sq ft) usually require 4–6 weeks
- Large bathrooms (over 100 sq ft) often extend 6–8 weeks
- Scope escalation with plumbing or electrical changes adds significant time
A small bathroom remodel focusing on cosmetic updates moves quickly. But once you’re adding structural work or moving fixtures, your timeline stretches considerably. Planning and permitting become bigger factors as your project grows. Understanding your bathroom’s dimensions upfront helps you set realistic expectations and coordinate better with your contractor.
Permit Approvals, Material Delays, and Weather: The Most Common Timeline Threats
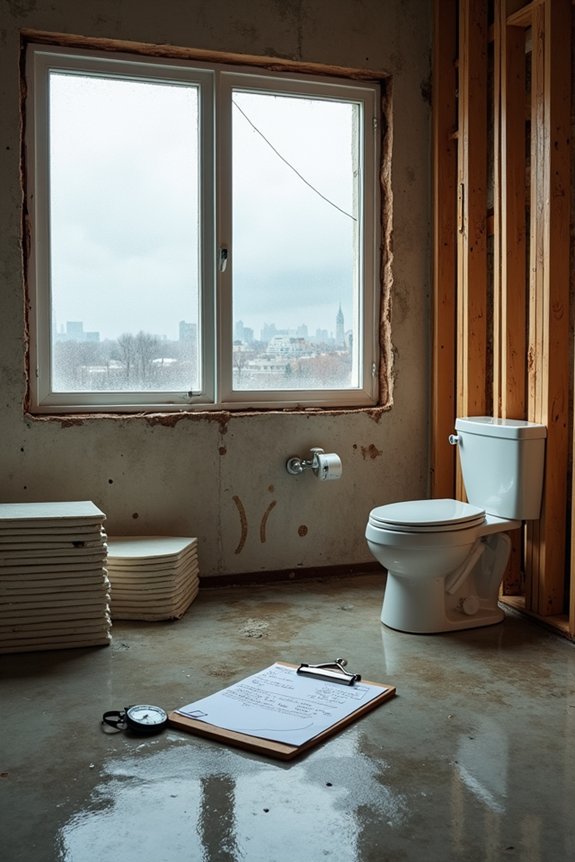
Once you’ve figured out your bathroom’s size and scope, you’ll quickly discover that permits, material delays, and weather can derail even the best-laid plans.
Permits aren’t just paperwork—they’re timeline gatekeepers. Depending on where you live, approvals can stretch your schedule by days or weeks. Plumbing and electrical permits sometimes require architect involvement or additional DOB approvals, adding extra steps that slow everything down.
Inspections tied to permits typically add 1–3 days, depending on your local backlog.
Material delays hit hard too. Custom vanities or specific tile selections often get backordered, postponing procurement and installation. Weather compounds these issues indirectly—delayed deliveries, crew availability problems, and moisture-sensitive tasks get pushed back when conditions turn unfavorable.
Understanding these threats helps you plan realistically and stay ahead of surprises.
Five Ways to Compress Your Timeline Without Cutting Corners
How do you actually shave weeks off a bathroom remodel without sacrificing quality? Smart planning and coordination work.
- Nail your design decisions upfront—spending 1–2 weeks on pre-construction planning prevents costly mid-project changes that add weeks later.
- Hire one all-in-one contractor—this eliminates coordination delays between multiple trades, saving you 1–3 weeks.
- Order in-stock materials early—avoid waiting for special orders by choosing readily available products before demolition starts.
- Follow a detailed 4-week reference schedule—map out your Week 1–4 milestones so you’re tracking progress against a concrete timeline.
The key? Limiting your scope and avoiding permit surprises keeps everything moving. You’re not rushing; you’re just being intentional about every decision.
Change Orders: Why One Design Decision Can Add Weeks
You’ve nailed your design decisions upfront and hired a solid contractor—so far, so good. But here’s what happens when you request mid-project changes: each change order adds roughly one week to your timeline. That new tile pattern you’re suddenly loving? That’s delays rippling through demolition, rough-in, and finishing phases.
Change orders don’t just push back your completion date. They interact with permit requirements, potentially triggering additional inspections that add days or weeks. Your contractor needs time to source materials, adjust schedules, and coordinate trades around your new decisions.
I’ll be straight with you: minimizing alterations after work begins is your best speed-up strategy. Every design decision you finalize upfront prevents cascading setbacks. Think of it this way—committing early keeps your bathroom remodel on track and your stress levels manageable.
Final Inspections, Punch List, and Project Closeout
When your shower pan’s being installed, that’s when the inspector shows up again—and they’re looking specifically for leak-free performance and proper barrier integrity.
What happens next in your final inspections, punch list, and project closeout:
- The superintendent identifies all remaining work items before closeout
- Your punch list typically takes 1 day to several weeks, depending on availability
- You’ll walk through with your team to verify all finish work meets expectations
- Final payment arrives once every punch list item is complete
The punch list is your project’s final to-do list. It catches small details—caulking gaps, fixture adjustments, paint touch-ups—that need addressing before you’re done. Once addressed, your bathroom’s ready for everyday use. Project closeout means you’ve crossed the finish line together.
Contractor Questions to Ask About Timeline
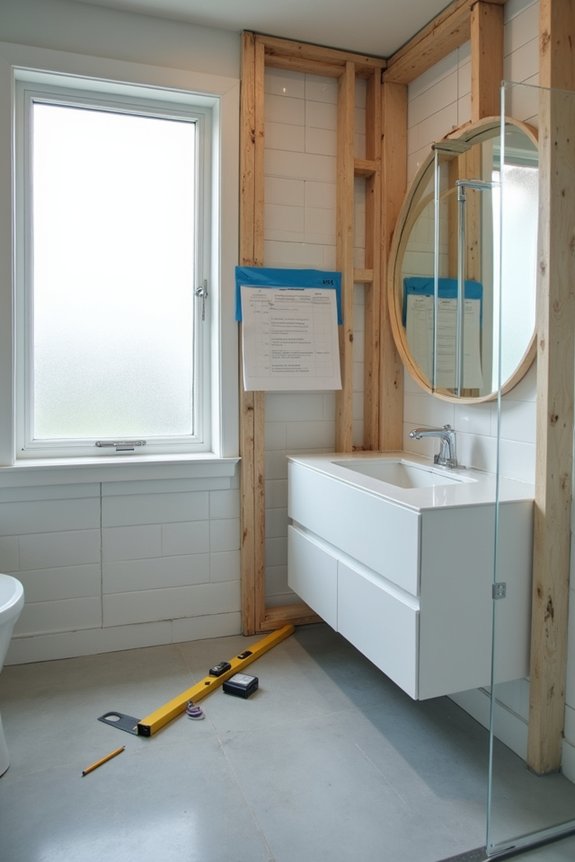
You’ll want to ask your contractor what contingency plans they’ve built into their schedule, because delays happen—material backorders, permit snags, or inspection hiccups can each add weeks to the timeline. Find out whether they’ve got experience navigating common slowdowns (like plumbing inspections or waterproofing cure times) and how they’d communicate delays to you before they become serious problems. Get specific about their track record: do they typically finish on time, and if not, what’s their average overrun?
Schedule Contingency Plans
Since bathroom remodels rarely go exactly as planned, I’d strongly recommend digging into your contractor’s contingency strategy before you sign anything. Here’s what I ask every contractor:
- What built-in buffer exists for material backorders or supply chain delays?
- How many days are allocated for permits, and which ones typically cause stalls?
- What’s your realistic contingency timeline if inspections require rescheduling?
- How do you handle unexpected issues discovered during demolition?
A solid contractor won’t shy away from these questions. They’ll explain their schedule cushion and show you how they manage permit delays and inspection holdups. Understanding their contingency plan means you’re not blindsided when complications arise—and they will. This transparency builds trust and sets realistic expectations for your project’s actual timeline.
Experience With Delays
How’d your contractor handle the last project that went sideways? That’s honestly the question you should ask. You’re looking for someone who’s weathered permit delays, navigated inspection schedules, and managed change orders without losing their cool.
Here’s what matters: permit delays happen—they’re basically guaranteed in bathroom remodels. Ask your contractor specifically how they’ve handled them before. Do they build buffer time into estimates? Do they follow up with permit offices proactively?
Similarly, inspection schedules can tack on 1–3 extra days. Find out if they’ve scheduled inspections efficiently in past projects. And change orders? They typically add a full week each. Ask how they’ve communicated costs and timeline impacts when clients requested modifications.
Their answers reveal whether they’ll keep your project on track.