
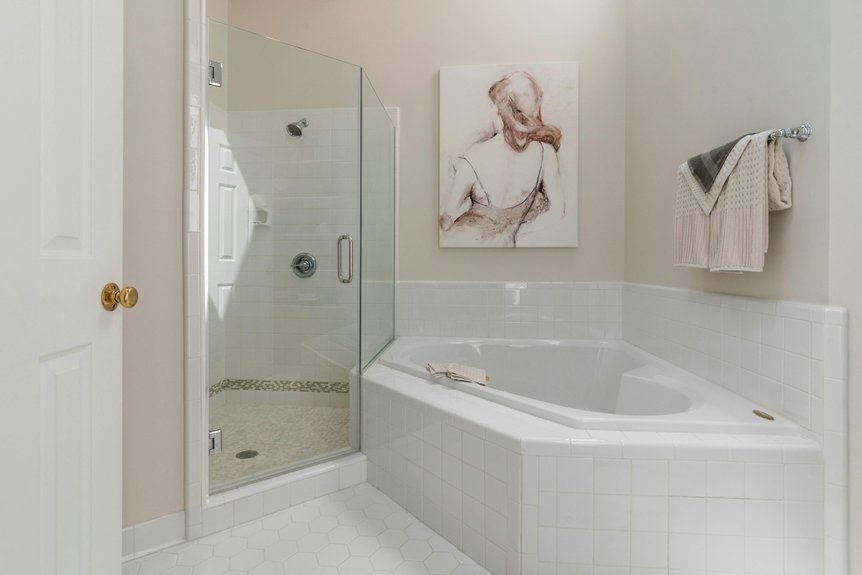
Yes, you can paint bathroom tile in about a week for roughly $100. Clean your tiles thoroughly, repair any cracks with caulk, then sand lightly and prime with a bonding primer like STIX. Apply two thin coats of epoxy or urethane paint, waiting twelve hours between coats. Seal with polyurethane topcoat and let it cure for three to seven days before exposing it to water. The real work’s in prep—that’s what keeps paint from peeling. We’ve got the specifics on each step ahead.
Is Painting Bathroom Tile Worth the Effort?
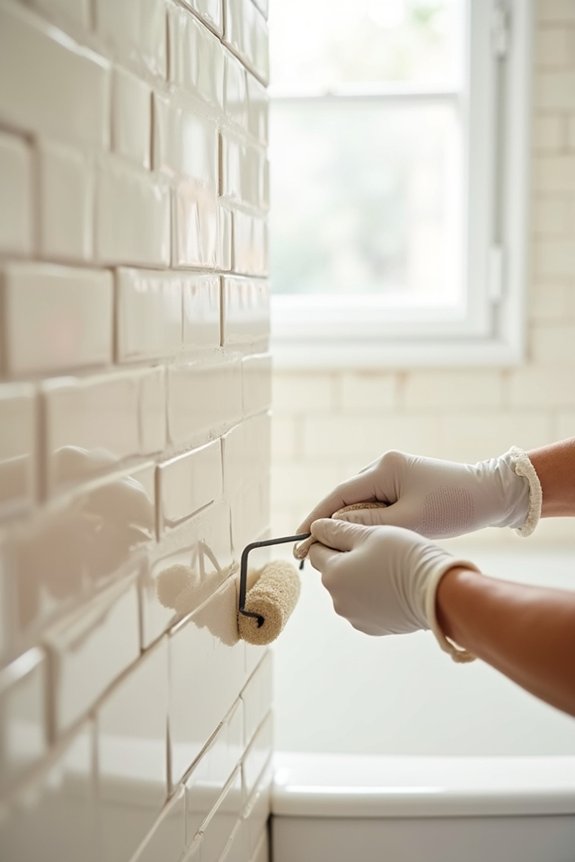
Why spend thousands on a full retiling project when you can refresh your bathroom tile for around $100? Painting tile is worth the effort if you’re looking for a budget option.
Refresh your entire bathroom tile for around $100 instead of spending thousands on a full retiling project.
Here’s the thing: you’ll need primer, a bonding primer specifically, latex/acrylic paint, and a top coat. That’s it. The real work happens in prep. Cleaning, degreasing, and sealing are required if you want durability.
Your moisture resistance depends on the products you choose. Epoxy paint offers superior protection but requires more skill. Latex/acrylic alternatives work well for beginners, especially floor paints with a protective seal.
Pay attention to grout lines and edges during application. Careful work prevents bleed-through and uneven coverage. It’s temporary, but it buys you time while planning your next renovation step.
Best Paint and Primer for Bathroom Tile
What makes the difference between a paint job that lasts years and one that peels within months? Your primer choice. I’ve learned that high-adhesion bonding primers like STIX create the foundation that tile paint needs. For bathrooms, epoxy primers outperform latex options because they resist moisture and heat better. You’ll want floor & patio paint for durability—Benjamin Moore’s line works well. The adhesion between primer and tile paint determines the outcome.
| Product Type | Best For | Moisture Resistance | Drying Time |
|---|---|---|---|
| Epoxy primer | High-moisture bathrooms | Excellent | 24 hours |
| Bonding primer (STIX) | All tile surfaces | Good | 1-2 hours |
| Floor & patio paint | Final coat | Superior | 4-6 hours |
| Latex tile paint | Low-moisture areas | Moderate | 2-3 hours |
| Polyurethane sealant | Top coat protection | Excellent | 48 hours |
After grout repair, I apply 2–3 coats with proper drying time between applications. A matte top coat seals everything.
Prepare Your Bathroom Tile (Clean, Repair, Sand, Tape)
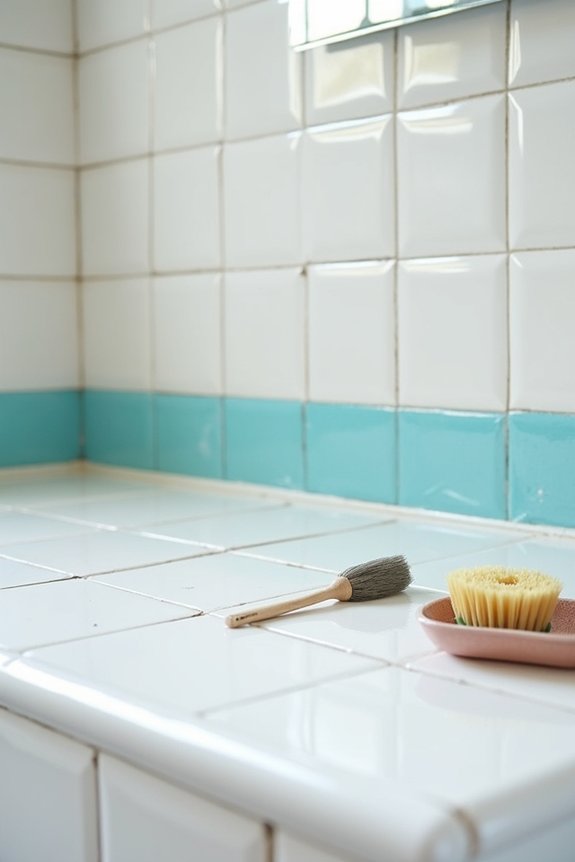
Now that you’ve picked your primer and paint, the real work begins—and I mean that literally. Start by thoroughly cleaning your bathroom tile with tile cleaner or sugar soap, scrubbing away dirt and buildup that’ll prevent adhesion. Next, tackle repairs: fill cracks with paintable caulk and chips with waterproof spackle, then let everything dry completely. Once dry, lightly sand the surface to create grip for your primer. Wipe away all dust with a damp microfiber cloth—this step is important for water resistance. Now mask edges with painter’s tape, avoiding any silicone caulk, and lay down drop cloths to protect surrounding areas. You’re ready for priming your grout lines and bathroom tile. The preparation work you’re doing now determines whether your paint job lasts or fails.
Prime Your Tiles: The Foundation for Paint Adhesion
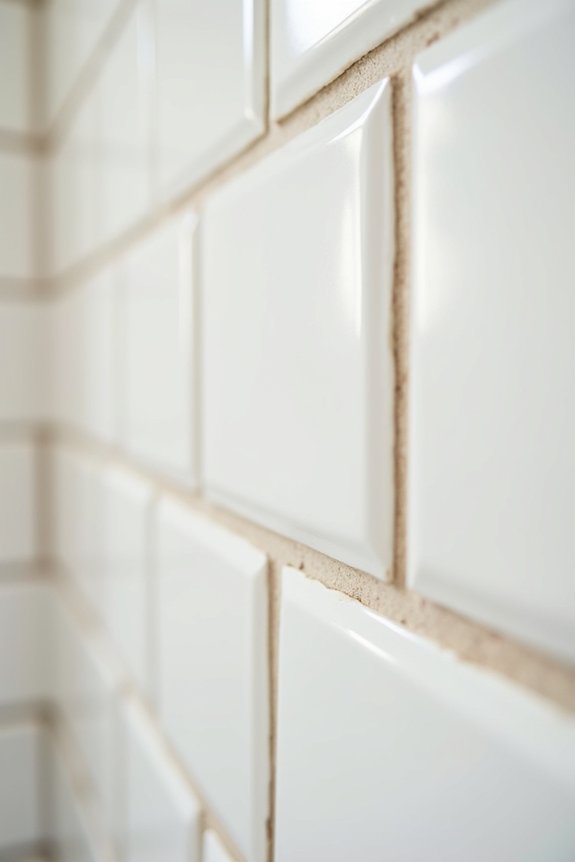
Now we’ll tackle the primer stage, which makes or breaks your whole project. I’m going to walk you through choosing a bonding primer like STIX—specifically designed to grip glazed tile surfaces—and show you the brush techniques that’ll get that primer deep into your grout lines and edges where it matters most. Getting this foundation right means your paint won’t peel off in six months, so let’s get it done properly.
Selecting The Right Primer
The foundation of your tile painting project rests entirely on choosing a high-adhesion bonding primer—and I can’t stress this enough, it’s the difference between a paint job that lasts years and one that peels within months. I recommend STIX, a product specifically designed for challenging surfaces like glazed tile and grout. Here’s why it matters: bonding primers create chemical adhesion without requiring sanding, which saves you time and mess.
Start by brushing primer directly onto edges and grout lines for deep coverage. This brushing technique prevents you from missing those tricky spots a roller would skip. Then roll the remaining surface. Allow adequate dry time—typically overnight for your final primer coat. Apply a second coat to reinforce adhesion on tiles and grout lines. Patience during this foundational stage yields significant benefits later.
Application Techniques For Coverage
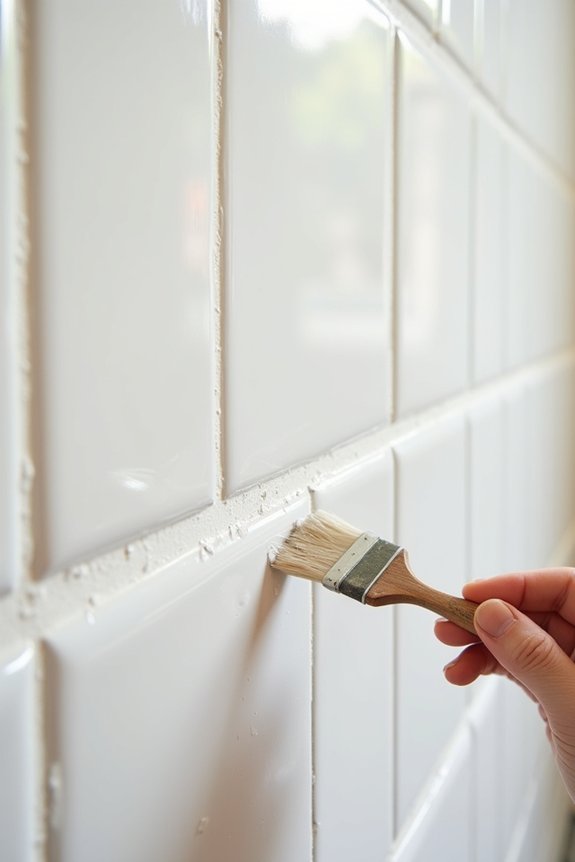
Priming your tiles properly is where your whole project either succeeds or fails down the road. I’ve learned that using a high-adhesion bonding primer like STIX works well on glossy surfaces. Here’s my technique: I brush the primer directly into grout lines and edges first, working it in thoroughly. Then I apply a roller coat for complete coverage across the tile face itself. I do this twice, waiting about four hours between coats. The brushing technique really matters on grout lines—don’t skip this step. After your final primer coat dries overnight, I caulk around transitions like faucets and the tub edge. This prevents moisture from sneaking behind and causing peeling later. Proper adhesion now prevents problems afterward.
How to Paint Bathroom Tile: Apply Two Coats
Once you’ve got your primer down and it’s fully dry, it’s time to actually paint those tiles. I’m using porch and floor paint with a brush for edges and grout lines, then switching to my 3/8 inch nap roller for the larger tile surfaces. This combo gives you solid coverage across all areas.
The bonding primer’s done its job, so now you’re focusing on getting those two coats of actual paint down. Between coats, wait that full 12-hour dry time—no shortcuts here. After your second coat cures properly, let everything sit for about three days before any water exposure. This patience results in a finish that’ll actually stick around.
Protect Your Work With a Topcoat Seal
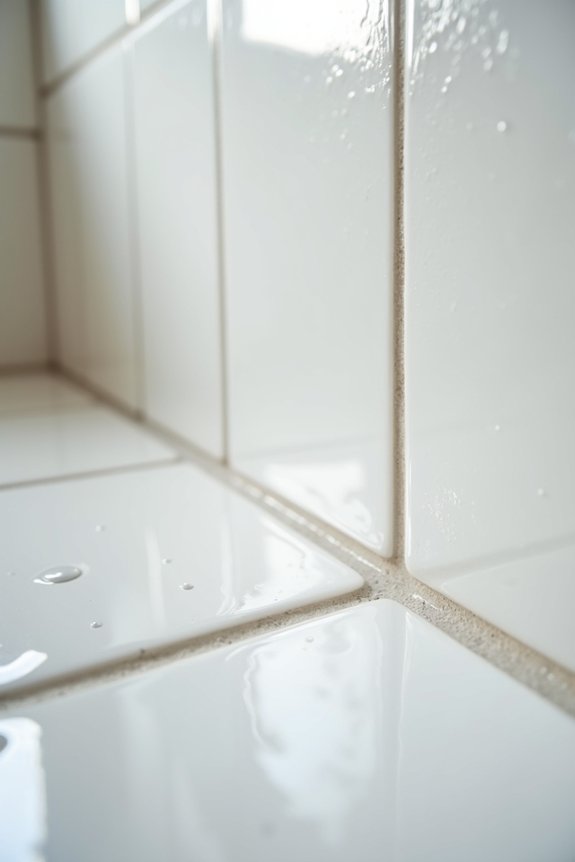
After those paint layers cure for a few days, you’ll want to seal everything with a protective topcoat—and I’m not exaggerating when I say this step is what separates a paint job that lasts from one that peels away in six months.
I use a polyurethane sealant for serious moisture resistance. Apply it evenly across your painted tile floor and grout edges using a quality brush. You have options: matte topcoat mimics natural cement tile while semi-gloss offers easier cleaning.
Here’s the hard part—curing time extends up to 48 hours before any water exposure. Keep bathroom doors closed and resist showers entirely during this window. This patience protects painted tiles from the humidity and daily wear that’ll damage unsealed work. It’s worth waiting.
Cure Time: When It’s Safe to Use Your Bathroom
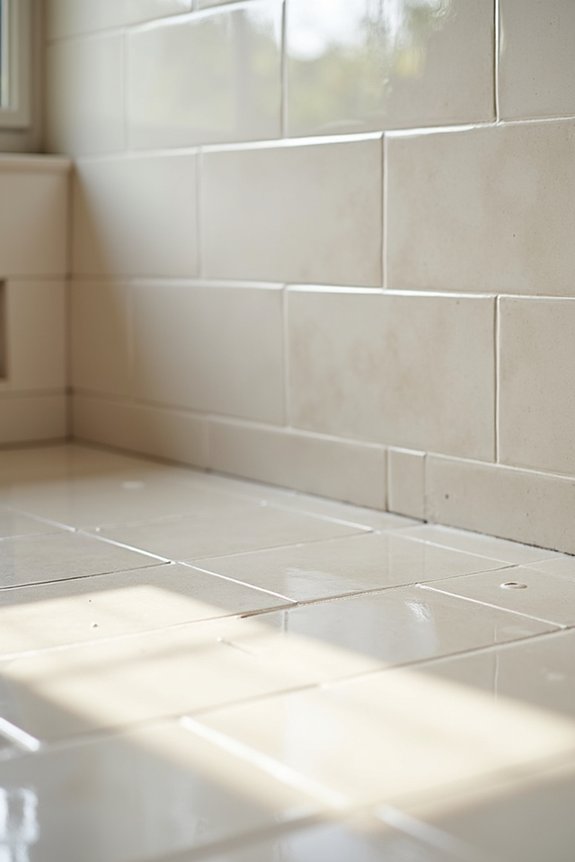
The waiting game starts now, and I won’t sugarcoat it—patience is your best friend here. Your shower tile cure time requires a minimum of three days before water exposure, though I’d recommend waiting seven days for optimal results. Between coats, you’re looking at roughly twelve hours of tile painting drying time. If you’ve applied a topcoat, add extra days per manufacturer guidelines—that final coat curing really matters for durability.
During this first week after painting, keep heavy use minimal. Skip the heels and rough treatment. For cleaning during cure, use only mild dish soap and a microfiber cloth—nothing abrasive. The moisture and curing process needs respect. Rush this water exposure waiting period, and you’ll compromise everything you’ve worked toward. The payoff is worth the patience.
Common Causes of Paint Peeling and How to Prevent Them
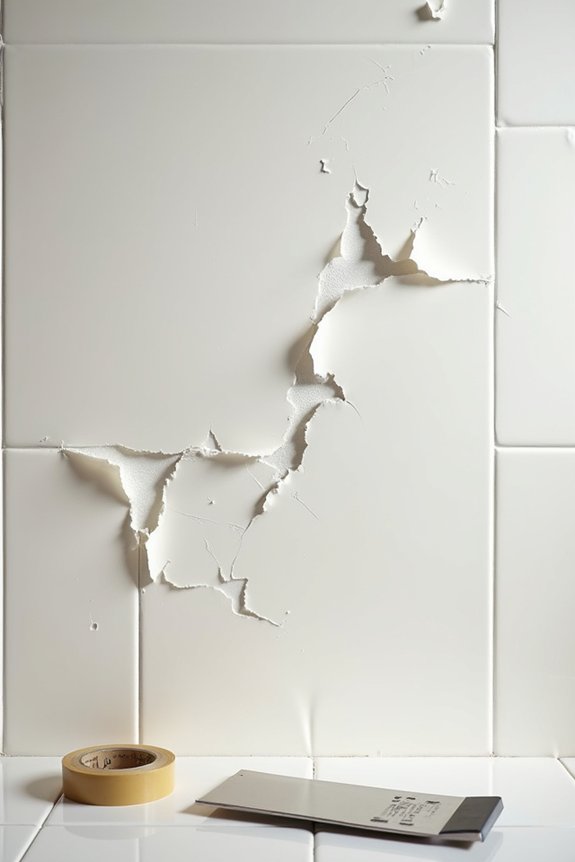
Why does bathroom tile paint peel when you’ve done everything right? Usually, it’s one of a few sneaky culprits.
Skipping proper surface prep causes most peeling issues. Greasy or dirty tiles won’t hold paint, period. You’ll also want a bonding primer like STIX—it’s specifically designed for tile adhesion and prevents delamination.
Painting over silicone caulk without sealing it first? That’s asking for trouble. The paint won’t grip properly.
Moisture resistance matters too. Use epoxy paint or urethane formulas rated for bathrooms, not standard latex. Thick coats actually hurt tile adhesion, so apply thin layers instead.
Finally, respect curing time. Waiting 3–7 days before water exposure prevents bubbling and exfoliation peeling. Your patience now saves frustration later.
Maintain and Repaint Your Bathroom Tile Over Time
Once your painted tiles have cured for 3 to 7 days, you’ve crossed the hardest part—but the real work’s just getting started. Maintaining your painted bathroom tile keeps that fresh finish looking sharp for years.
| Task | Frequency | Method |
|---|---|---|
| Regular cleaning | Weekly | Dish detergent, microfiber cloth, water |
| Mold treatment | As needed | Diluted bleach sparingly |
| Inspection | Monthly | Check for wear, peeling, pinholes |
| Touch-ups | Annually | Primer and paint application |
| Deep clean | Quarterly | Gentle scrubbing, mild soap |
Skip the sealant—you’ll thank yourself later when repainting becomes necessary. Stick with gentle cleaning and care. If wear appears, don’t panic. Your preparation and curing time investment means touching up takes minutes. Watch moisture resistance decline gradually, so plan ahead. This maintenance schedule keeps your bathroom tile painting steps’ results lasting strong.