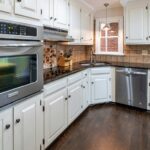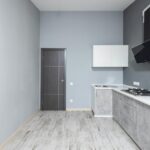
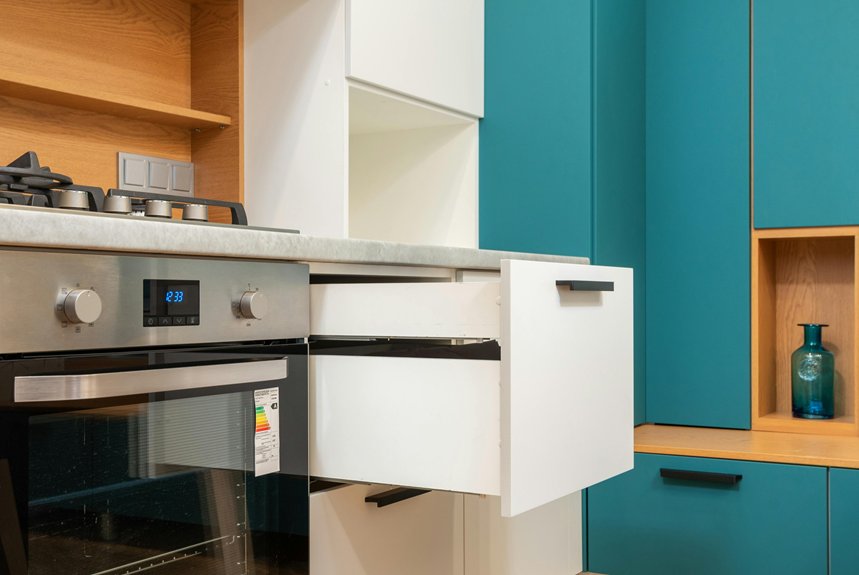
Standard base cabinets run 24 inches deep, while upper cabinets typically measure 12 inches—this keeps your countertop workspace comfortable. Grab a tape measure and sketch your kitchen layout first, marking windows, doors, and outlets before you measure anything. Check the distance at the top, middle, and bottom of each wall since they’re rarely perfectly straight. Don’t forget the 15–18 inch gap you’ll need between your base and upper cabinets. Getting these measurements locked down now prevents costly surprises later.
Base Cabinet Depth: The 24-Inch Standard (And When to Deviate)
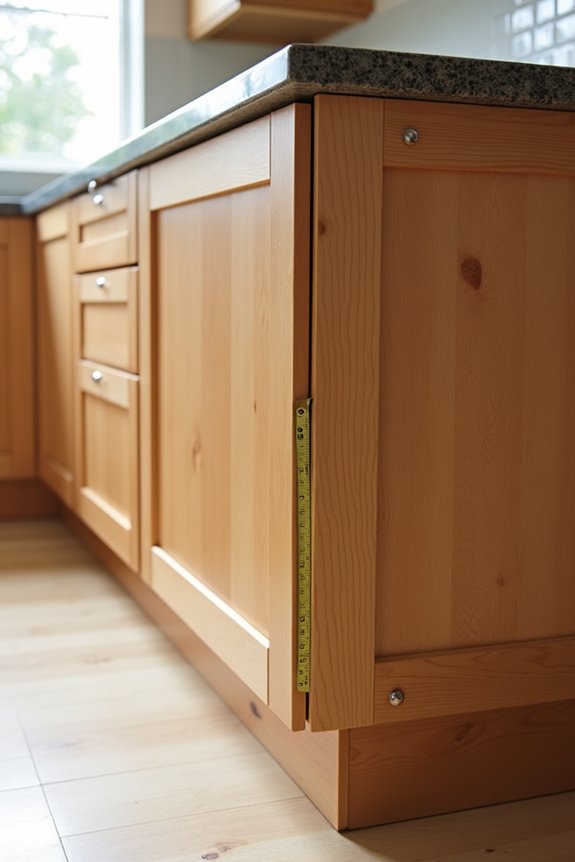
Most kitchen cabinets you’ll see follow one simple rule: they’re 24 inches deep. That’s the standard for base cabinets because it matches your countertop depth perfectly. Here’s the thing: the interior depth is actually about 23 inches, which gives you solid storage without compromising the cabinet’s structure.
Now, you might wonder when to break this rule. Deeper base cabinets exist for folks needing extra space for larger appliances. Conversely, compact kitchens sometimes require shallow 12-inch cabinets instead.
When you deviate from 24 inches, you’re creating ripple effects. Your countertop overhang changes. Plumbing connections shift. Appliance clearances get affected. It’s doable—just plan ahead. Think of it like rearranging furniture; measure twice, commit once.
Upper Cabinets: Why 12 Inches Is the Smart Shallow Option
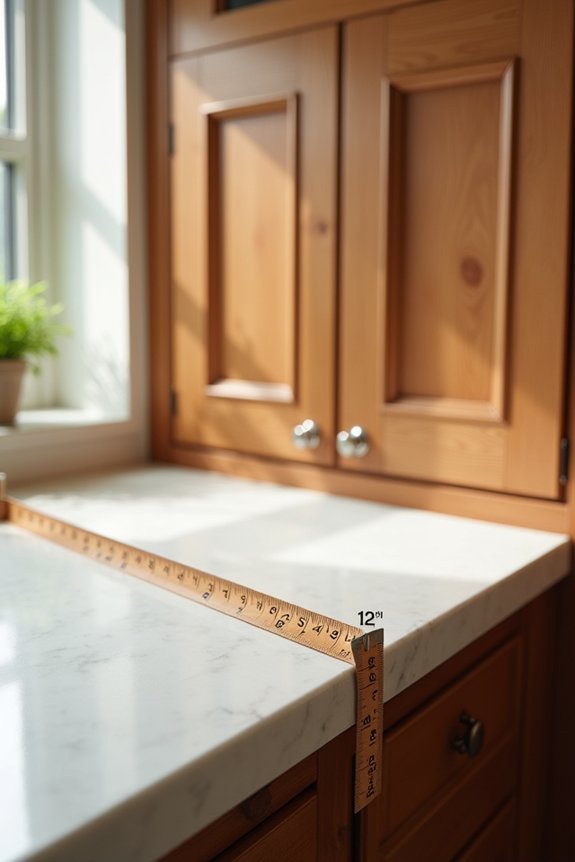
While base cabinets sit at a standard 24 inches deep, upper cabinets take a different approach—and there’s a good reason why. I’d stick with the standard 12-inch depth for most situations. This shallow depth keeps your everyday dishware and glassware accessible without eating into your countertop workspace. You’ll appreciate having room for your appliances and cooking activities below.
Deeper upper cabinets exist—up to 24 inches—but I’d caution against them. They obstruct your counter area and can interfere with lighting or ventilation placement. The 12-inch depth balances storage capacity with practicality across all cabinet widths. When you’re planning your kitchen layout, measure carefully so your upper cabinets won’t crowd your workspace. This straightforward choice improves your kitchen’s functionality and feel.
Cabinet Spacing: The 15–18 Inch Rule Between Levels
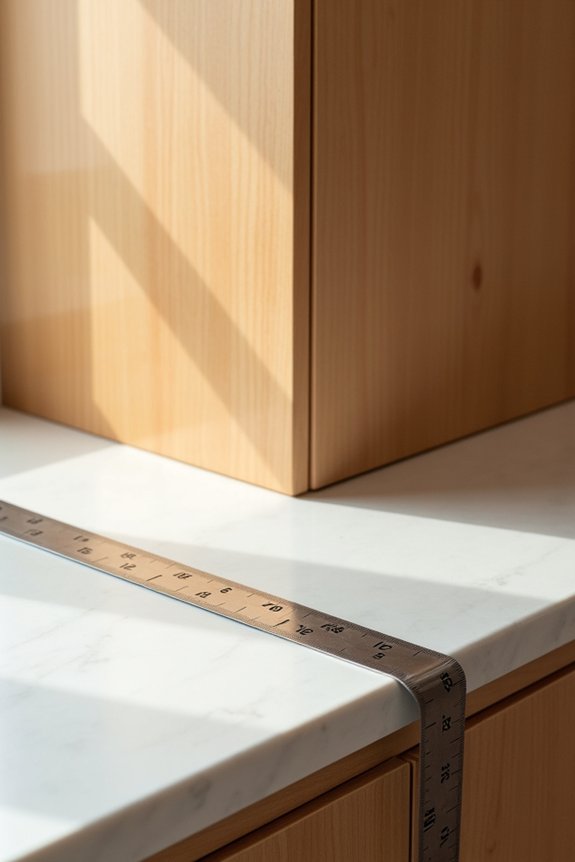
I’ve measured plenty of kitchens, and I’ll tell you—the 15 to 18 inches between your countertop and upper cabinets isn’t just a random suggestion, it’s the right distance for working comfortably. This gap keeps your counter clear for prepping food while letting you reach into those upper cabinets without awkward stretching or bumping your head. Get this spacing right, and you’ll notice how much easier everything flows from cooking to storing your dishes.
Optimal Working Space Design
How’d you like to bang your head on an upper cabinet every time you reach for a mixing bowl?
It’s not pleasant. That’s why the 15–18 inch gap between your countertop and upper cabinets matters so much. This spacing gives you comfortable elbow room for food prep while keeping stored items within easy reach. Your standard cabinet height sits around 36 inches, plus roughly 1.5 inches for countertops, making that 15–18 inch rule perfectly aligned with how we actually work.
| Gap Size | Workspace Impact | Storage Effect | Overall Flow |
|---|---|---|---|
| Too Small | Hindered prep | Accessible | Disrupted |
| 15–18″ | Optimal | Balanced | Smooth |
| Too Large | Spacious | Reduced | Broken |
Consistency across your kitchen keeps everything functional.
Standard Height Measurement Guide
Your base cabinets sit at 36 inches tall with the countertop included. From there, measure up roughly 54 inches from your floor—that’s where your upper cabinets’ bottom edge lands. This creates your ideal 15–18 inch working space.
When you’re measuring kitchen cabinets depth and planning multiple units across your kitchen, keep this spacing consistent. Standard upper cabinet depth typically matches base cabinet depth, usually around 12 inches. Maintaining uniform 15–18 inch gaps supports a natural workflow and proper cabinet alignment. You’ll avoid bumping your head or struggling to reach items. It’s practical spacing that works.
Kitchen Cabinet Measurement Tools You’ll Need
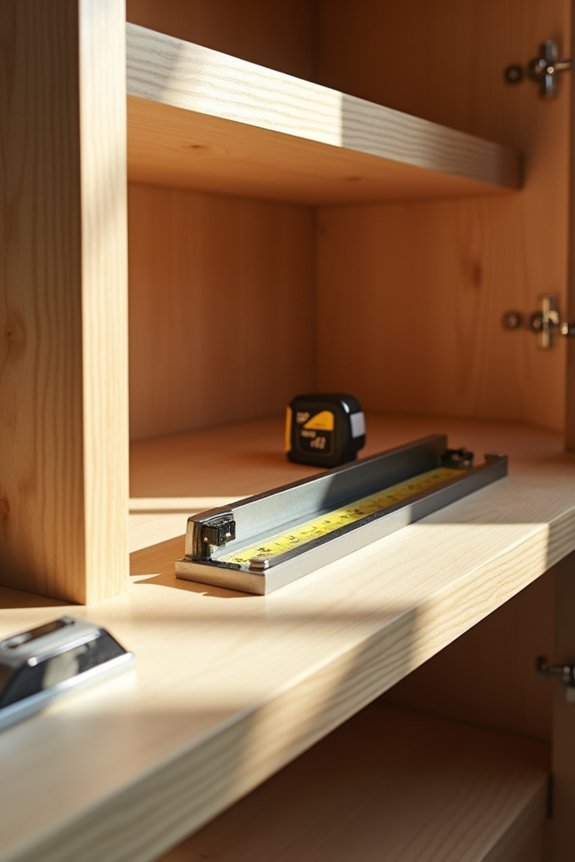
Before you start pulling out your phone’s flashlight to peer into cabinet corners, let me tell you: having the right tools makes measuring kitchen cabinets much easier.
I’ve learned that gathering the essentials upfront saves time and frustration. You’ll want these items on hand:
- A tape measure with both metric and imperial units for dual-system accuracy
- Graph paper to sketch layouts and visualize cabinet dimensions before ordering
- A pencil for marking measurements and jotting on-site notes
A step stool or stable ladder is equally important—you can’t measure those upper cabinets safely without proper reach. I can’t overstate this: having everything assembled before starting reduces rework and measurement errors. This simple preparation makes the entire process manageable and accurate.
Sketch Your Kitchen Layout First
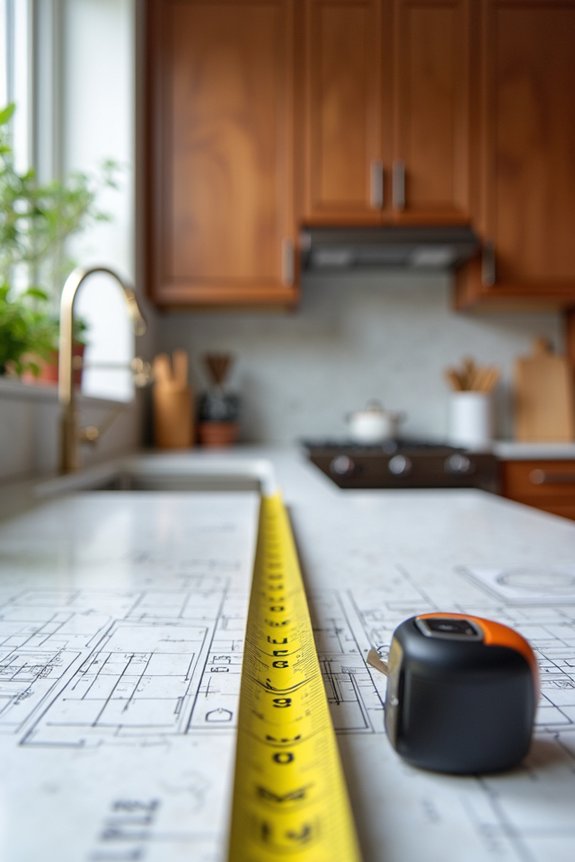
Before you measure anything, sketch out your kitchen layout on graph paper to see exactly where everything sits. Start by marking your fixed features—windows, doors, plumbing lines, and electrical outlets—because these spots will determine where cabinets simply can’t go. Once you’ve got those locked in, plot your base and wall cabinet placements with actual measurements so you can spot potential problems before you buy anything.
Identifying Key Kitchen Features
How’d you like to measure your cabinets without running into a door or finding out your new base cabinet won’t fit around that corner plumbing?
Before you start measuring, you’ll want to identify what’s actually in your kitchen layout. I’m talking about the real obstacles and features that’ll affect your cabinet placement. Here’s what matters:
- Windows and doors – Mark their exact locations so cabinet doors don’t swing into them
- Existing appliances and plumbing – Note where your sink, stove, and water lines sit
- Electrical outlets – Identify their positions to avoid conflicts with your new cabinetry
Take your time spotting these features on your sketch. You’re mapping out your kitchen’s layout before making any permanent decisions. This groundwork prevents expensive mistakes later on.
Plotting Measurements On Paper
Now you’ll grab some graph paper and start translating your kitchen into a bird’s-eye view—this sketch becomes your blueprint for cabinet placement. Use a manageable scale like one square equals one foot. This makes translating wall lengths into actual measurements straightforward.
Draw your walls first, then mark every window, door, plumbing line, and electrical outlet. These existing features dictate where your cabinets can actually go. Write exact measurements directly on your drawing.
Use different line styles or colors for base cabinets, upper cabinets, and full-height units. This layering approach helps you visualize cabinet depth and heights simultaneously. Label each cabinet section with its intended width, depth, and height. Clear labeling prevents costly mistakes when you’re ready to order or install your new cabinets.
Measure Cabinet Width Like a Pro
Once you’ve got your depth measurements down, it’s time to tackle the width—and this is where precision matters.
I measure from one end of the cabinet space to the other, noting each section’s width carefully. When you’re working with multiple cabinets, account for gaps between units and any obstacles that might throw things off.
Here’s what I focus on:
- Record each cabinet width individually to prevent mismatches during installation
- Note gaps between adjacent cabinets that could affect overall alignment
- Document measurements in both inches and centimeters for all contractors
I plot everything on graph paper or design software afterward. This visual guide becomes invaluable during actual installation because you’ll see exactly how everything fits together. Taking time now prevents major headaches later.
Finding the Right Height for Wall Cabinets
Where should your wall cabinets actually sit above the countertop? I’d recommend positioning them 15 to 18 inches above your counter surface. This spacing provides comfortable access to both your workspace and cabinet doors without feeling cramped.
Your wall cabinets typically start around 54 inches from the floor, which works well with standard countertop heights. Standard wall cabinet heights range from 30 to 42 inches, depending on your ceiling height and how much storage you need.
Here’s the thing: deeper upper cabinets—those pushing toward 24 inches instead of the typical 12 inches—can eat into your workspace if you’re not careful. Make sure cabinet depth doesn’t obstruct your counter activities or interfere with utensils you’re using. Think about your daily kitchen rhythm when deciding on these measurements.
Cabinet Placement: Work Around Windows and Outlets
Before you start measuring cabinet depths, you’ll want to map out where your windows, doors, electrical outlets, and plumbing lines sit on each wall—this matters, as missing an outlet or blocking a window means reworking everything later. Take time to sketch your kitchen layout on graph paper, marking these obstacles so you can see exactly how deep your cabinets can safely go without creating access problems or covering up what you need to use. This upfront planning saves you from expensive mistakes and keeps your cabinets fitting properly around your kitchen’s actual layout, not some imaginary blank wall.
Windows And Door Placement
How do your windows and doors affect where you’ll place cabinets? They’re design catalysts for your layout. You need to measure the distance from window frames and door jambs to plan where cabinets actually fit without blocking natural light or getting in your way.
Here’s what I focus on:
- Mark openings first. I sketch window and door positions on my layout using design software, then annotate exact measurements to guide installation precisely around these features.
- Protect your daylight. Upper cabinets shouldn’t block light from windows, so I position them strategically to maintain workspace brightness and comfort.
- Account for clearance. I confirm cabinet doors swing freely and you can comfortably open windows without obstruction or awkward reaching.
These steps prevent costly mistakes and create a functional kitchen that works for you.
Electrical Outlet Positioning Strategy
Electrical outlets can make or break your cabinet layout—seriously, I’ve seen perfectly designed kitchens become headaches because someone forgot about them. Here’s what I do: I map every outlet on graph paper before ordering cabinets. Mark switches, appliance plugs, everything. This simple step prevents costly mistakes later.
When positioning base cabinets, I maintain at least two inches of clearance behind them for wiring and outlet plates. Measure from wall studs to each outlet, then align your cabinet backs accordingly. For upper cabinets, if an outlet sits high on the wall, I either mount cabinets to cover it or design around it entirely.
Island outlets need planning too—specify their locations during design and verify proper GFCI compliance. Think of your outlet map as your kitchen’s electrical blueprint. This upfront work saves headaches down the road.
Plumbing Line Considerations
Where do your plumbing lines run—and more importantly, where are your shutoff valves? Working around these hidden systems directly affects your cabinet layout. You’ll want to keep pipes and shutoffs accessible inside cabinets or under sinks without jamming up your drawers and doors.
Here’s what I prioritize:
- Recessing base cabinets 6 to 8 inches behind sinks to accommodate piping without obstruction
- Allowing 2 to 3 inches of back space for supply lines and trap assemblies to fit comfortably
- Planning cabinet widths around windows and doorways to maintain access to pipe cleanouts
I run plumbing lines through wall voids before finalizing dimensions, coordinating with electrical placement. This prevents elbows or studs from blocking either system. Measuring twice and planning plumbing paths first prevents frustrating cabinet adjustments later.
How Deep Should Your Cabinets Be? Wall-to-Front Measurement
When you’re figuring out cabinet dimensions, the wall-to-front measurement is what actually matters most—it’s the distance from your wall straight out to the exposed front edge of the cabinet, and it doesn’t include any trim or doors sticking out.
Standard wall cabinet depth typically runs 12 inches, though you can go deeper up to 24 inches if you need extra storage. This depth directly affects your countertop clearance and workspace. You don’t want cabinets jutting out so far they block your counter or interfere with appliance ventilation.
Aligning your wall cabinet depth with your base cabinet depth—usually 24 inches—creates visual consistency and keeps your kitchen balanced. If standard sizes don’t work, custom options are available.
Island Cabinet Depths: Custom Options for Your Layout
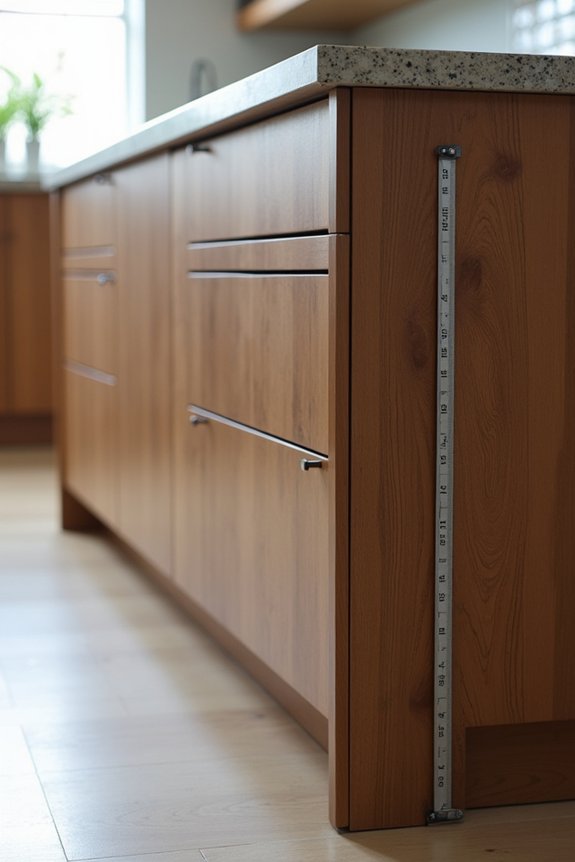
How much depth you’ll actually need for your island cabinets depends on what you’re putting in them and how you’re using the space. Most islands work well between 24 to 36 inches deep, though your specific layout might call for something different.
Most islands work well between 24 to 36 inches deep, though your specific layout might call for something different.
Here’s what I consider when planning cabinet depth:
- Appliance placement — Deeper cabinets handle larger appliances, while narrower islands prioritize seating and walkway space
- Seating overhang — You’ll want clearance for bar stools, typically needing 15 inches of overhang from the island edge
- Kitchen flow — Account for how people move through your space; tighter kitchens benefit from shallower depths
Custom island cabinets let you dial in exactly what works. I typically start at 24 inches for tight spaces and expand to 36 inches when I’ve got room and appliances demanding it.
Full-Height Cabinet Depths: Floor-to-Ceiling Storage
Full-height cabinets that stretch from floor to ceiling demand a different approach than your standard base units, and depth becomes essential when you’re planning these pieces. Most full-height cabinets match your base cabinet depth—typically 24 inches—to keep everything looking organized and well-planned. However, if you’re working with larger appliances or want maximum storage in an open layout, you can go deeper, up to 36 inches. The key is making sure your full-height cabinets align with adjacent base depths so your kitchen flows naturally. Before finalizing dimensions, always check clearance above the ceiling for doors and any architectural features. Getting these measurements right means your full-height cabinets function well while maintaining a polished, well-designed appearance.
Cabinet Measurement Mistakes That Cost You
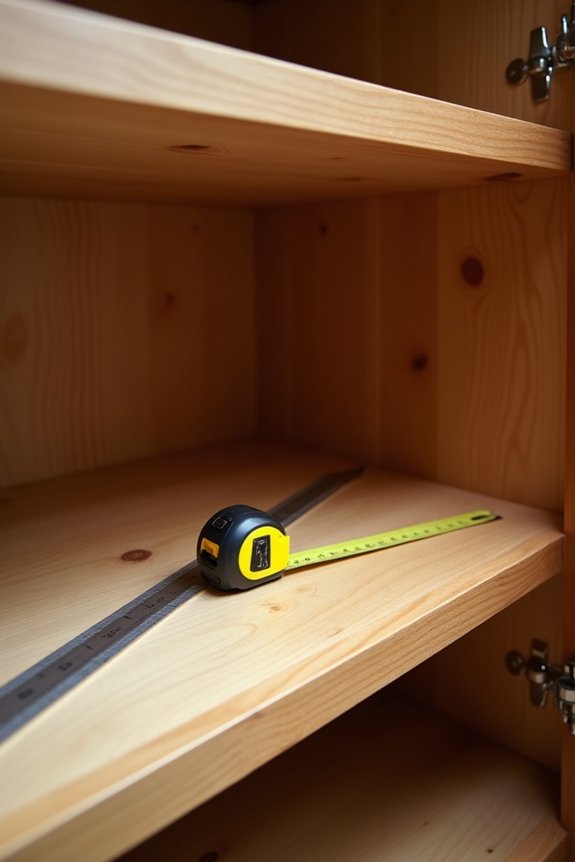
Why do so many kitchen renovations hit snags during installation? Cabinet measurement mistakes are common and costly. You’re mixing up the standard 24-inch base cabinet depth with the actual 23-inch interior space, forgetting about countertop overhang, or ignoring toe-kick clearance. These oversights throw everything off.
Here’s what trips people up:
- Confusing exterior depth measurements with interior dimensions, affecting drawer function and door swing
- Overlooking decorative molding or trim space above wall cabinets, creating visual misalignment
- Skipping the deep-cabinet conversation early (islands can reach 36 inches), forcing last-minute redesigns
Measure wall-to-front edge consistently for both base and upper cabinets. Account for every inch of overhang and trim. Verify your actual needs before ordering. This groundwork saves you time, money, and frustration later.
Measuring Cabinet Spaces With Uneven Walls
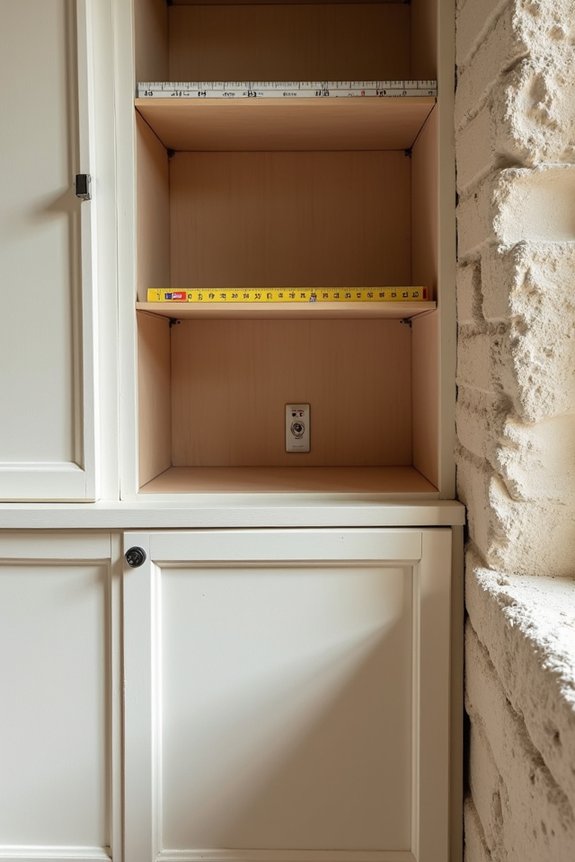
When you’ve got walls that aren’t perfectly straight—and honestly, most older homes do—a single measurement just won’t cut it. I measure the depth at three points: top, middle, and bottom. This gives me the real picture of my storage space instead of guessing.
I use a laser distance tool to find the smallest clearance between the wall and where my cabinets will sit. That’s the number that matters most because doors and drawers need that space to open freely.
I also note any high spots or dips in the wall. These aren’t problems—they’re just details I plan for with shims or adjustable legs. Recording both maximum and minimum measurements along each wall segment keeps me honest about what’ll actually fit in my kitchen.
Custom Depths: Measuring Before You Customize
Once you’ve got those uneven walls mapped out, you’re ready to think bigger about what your cabinets could actually be. Custom cabinets let you move beyond that standard 24-inch depth, which means you can design exactly what works for your space.
Before you jump into customization, measure everything twice. I’m serious—accuracy here saves headaches later. You’ll want to consider:
- Appliance clearance: Check that custom depths don’t crowd your refrigerator or dishwasher
- Traffic flow: Shallower cabinets work better in tight kitchens; deeper ones maximize storage
- Hardware compatibility: Custom depths need special hinges and drawer systems
Talk with a cabinet maker early. They’ll help you balance your storage desires with practical constraints. Measuring beforehand means your custom cabinets fit properly without surprises during installation.
Cabinet Order Checklist: Using Your Measurements
How do you turn all those measurements into an actual order that won’t leave you scrambling during installation? Create a spreadsheet listing every kitchen cabinet you’re ordering: base, upper, island, and full-height units. For each, record width, height, and depth alongside obstructions you’ve noted. Include door clearances—that half-inch spacing between adjacent doors—and note if you’re adding soft-close hardware, which needs extra room. Don’t forget the spacing: 15-18 inches between base and upper cabinets, plus your desired top clearance for ceiling alignment. Add hardware placement details. Review everything twice before submitting your order. This checklist becomes your installation blueprint, preventing costly mistakes and allowing every cabinet to fit exactly where you planned it.